
My memory of the summer we got our new windows is that each weekend we would methodically tear a wall off of a section of our house, re-frame it, and then put it back up, all before Monday morning. I’d watch heads turn and stare as people walked by, probably thinking we were crazy for tearing our house apart while we lived in it!
In our projects, we joke about day-time work and night-time work. With two young kids, our time to work on the house is extremely limited, so anything that is quiet enough to be done at night after they’re in bed is saved for night-time work. On the other hand, anything loud (and involving big holes in the house!) is day-time work, mostly done on weekends when I take the kids while Reid builds. It’s exhausting and far from ideal, but we make it work.
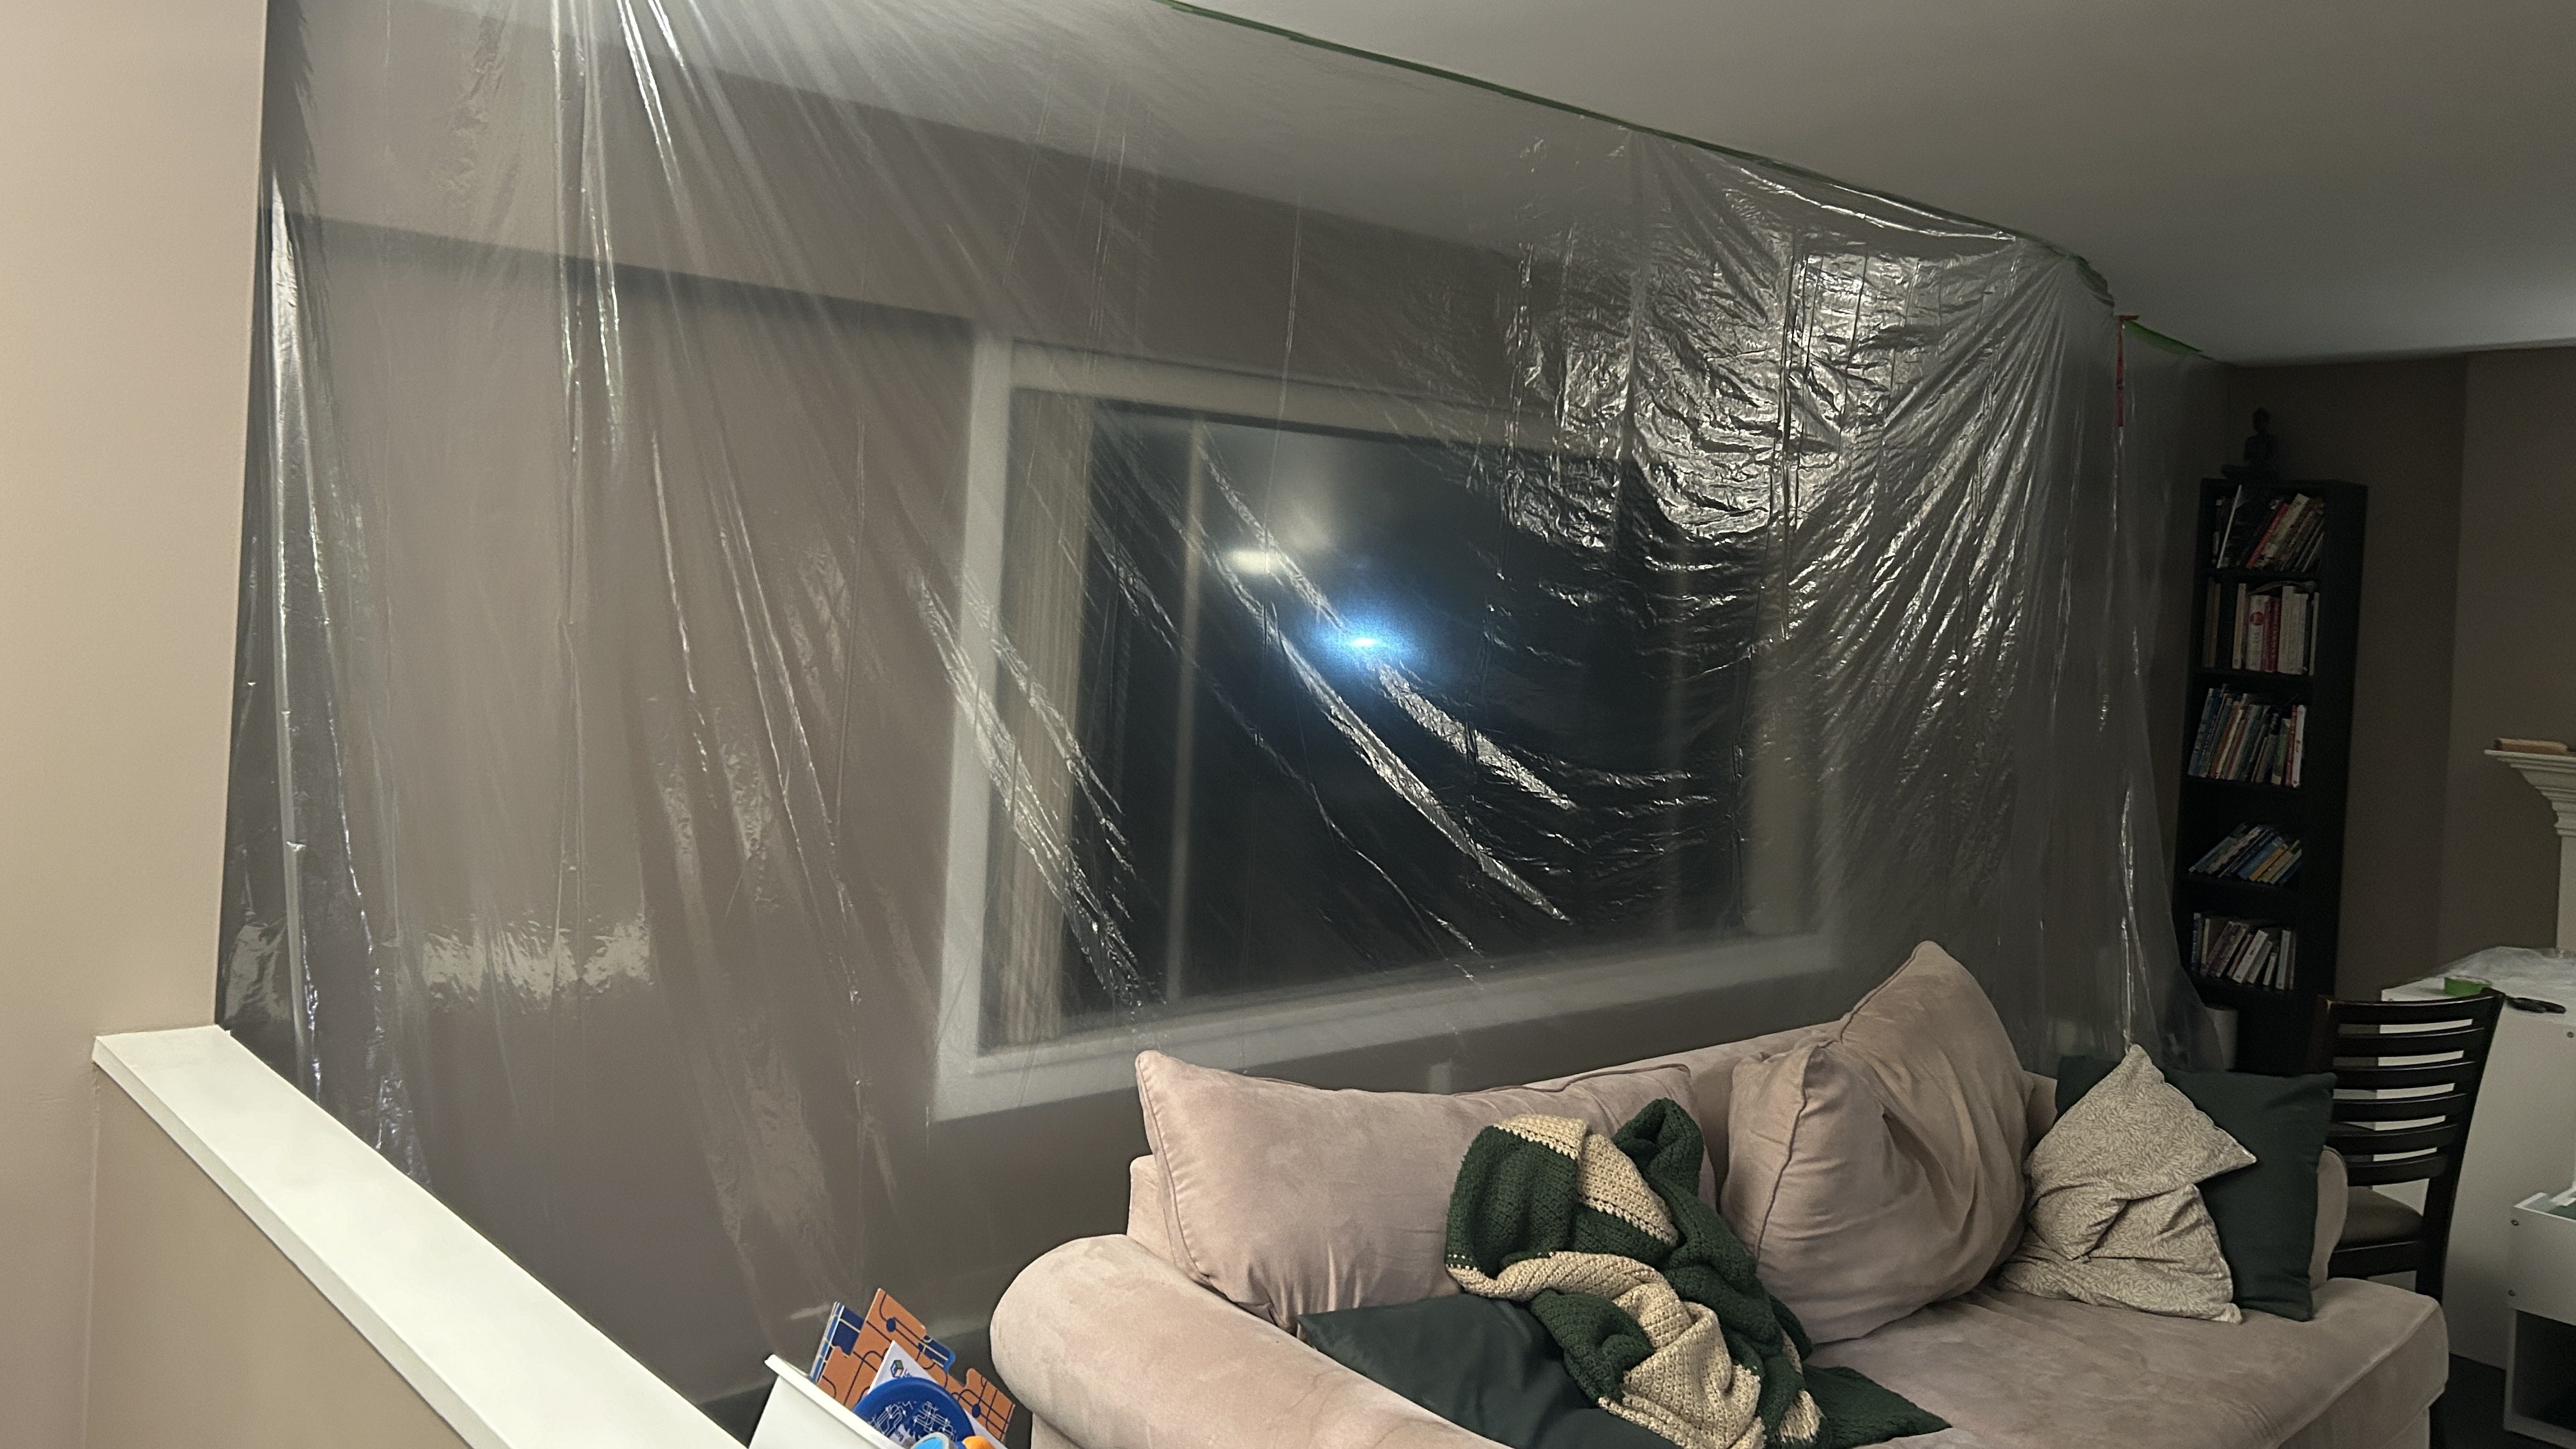
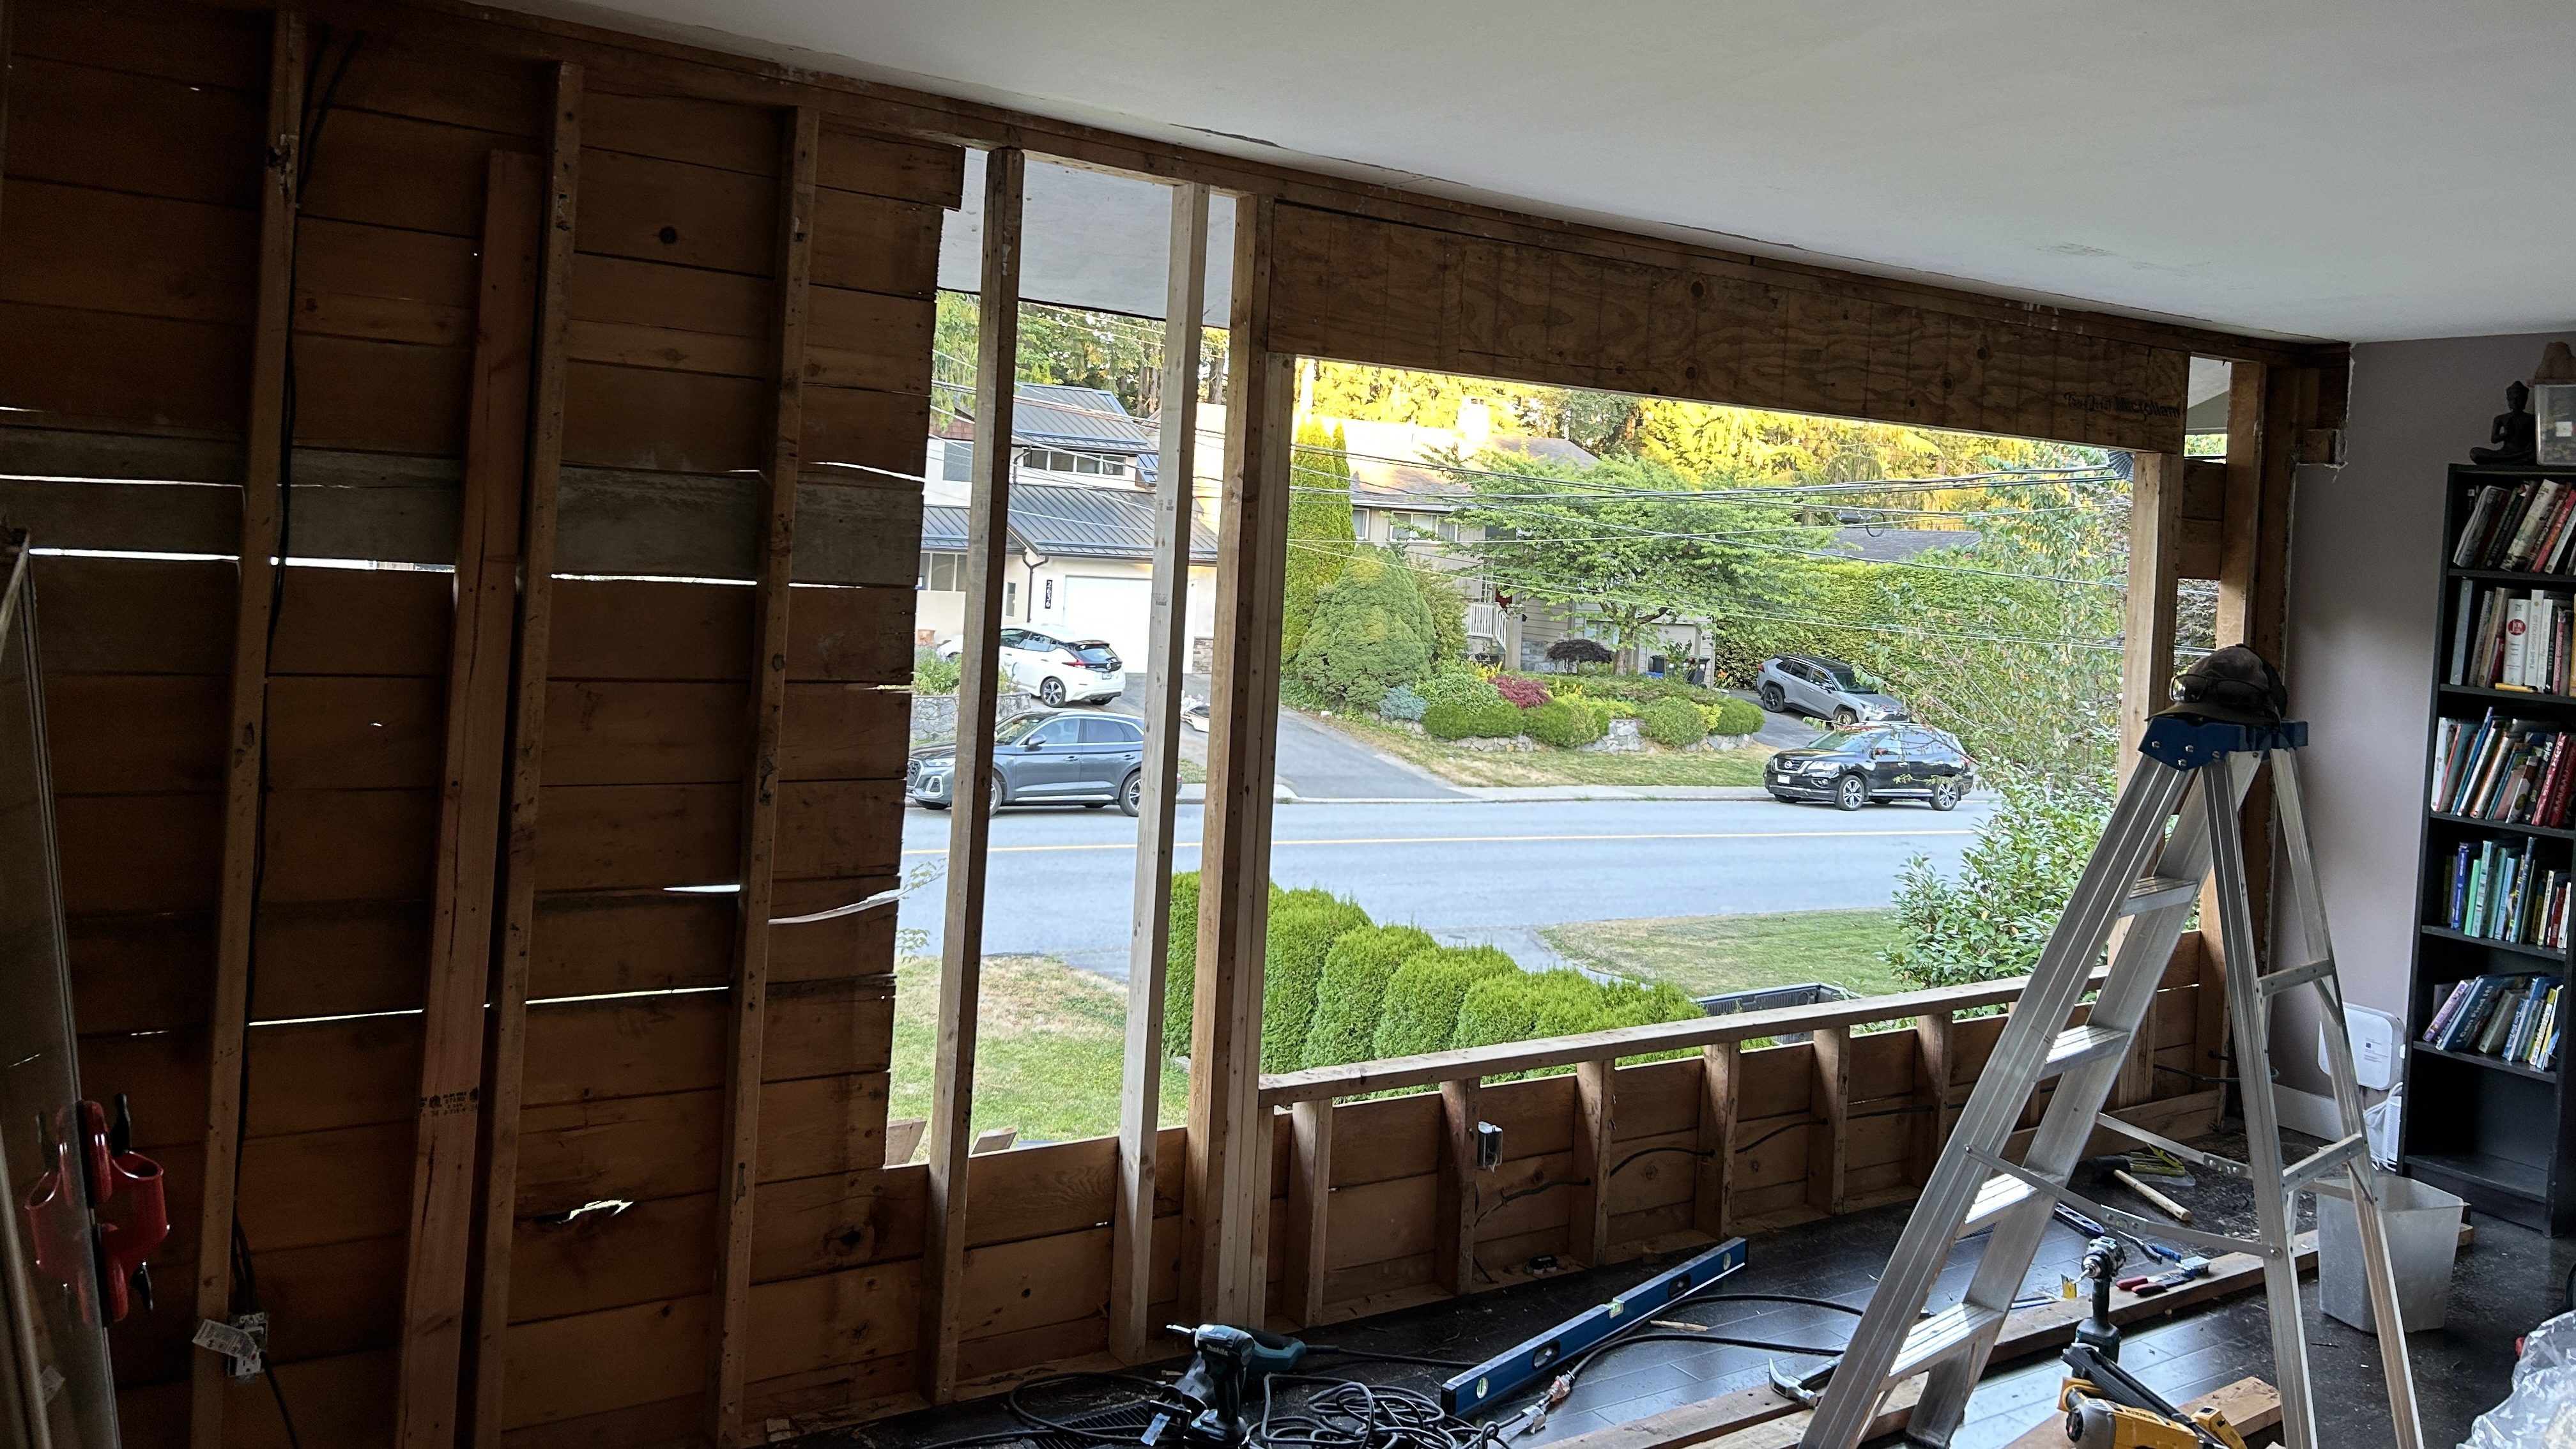
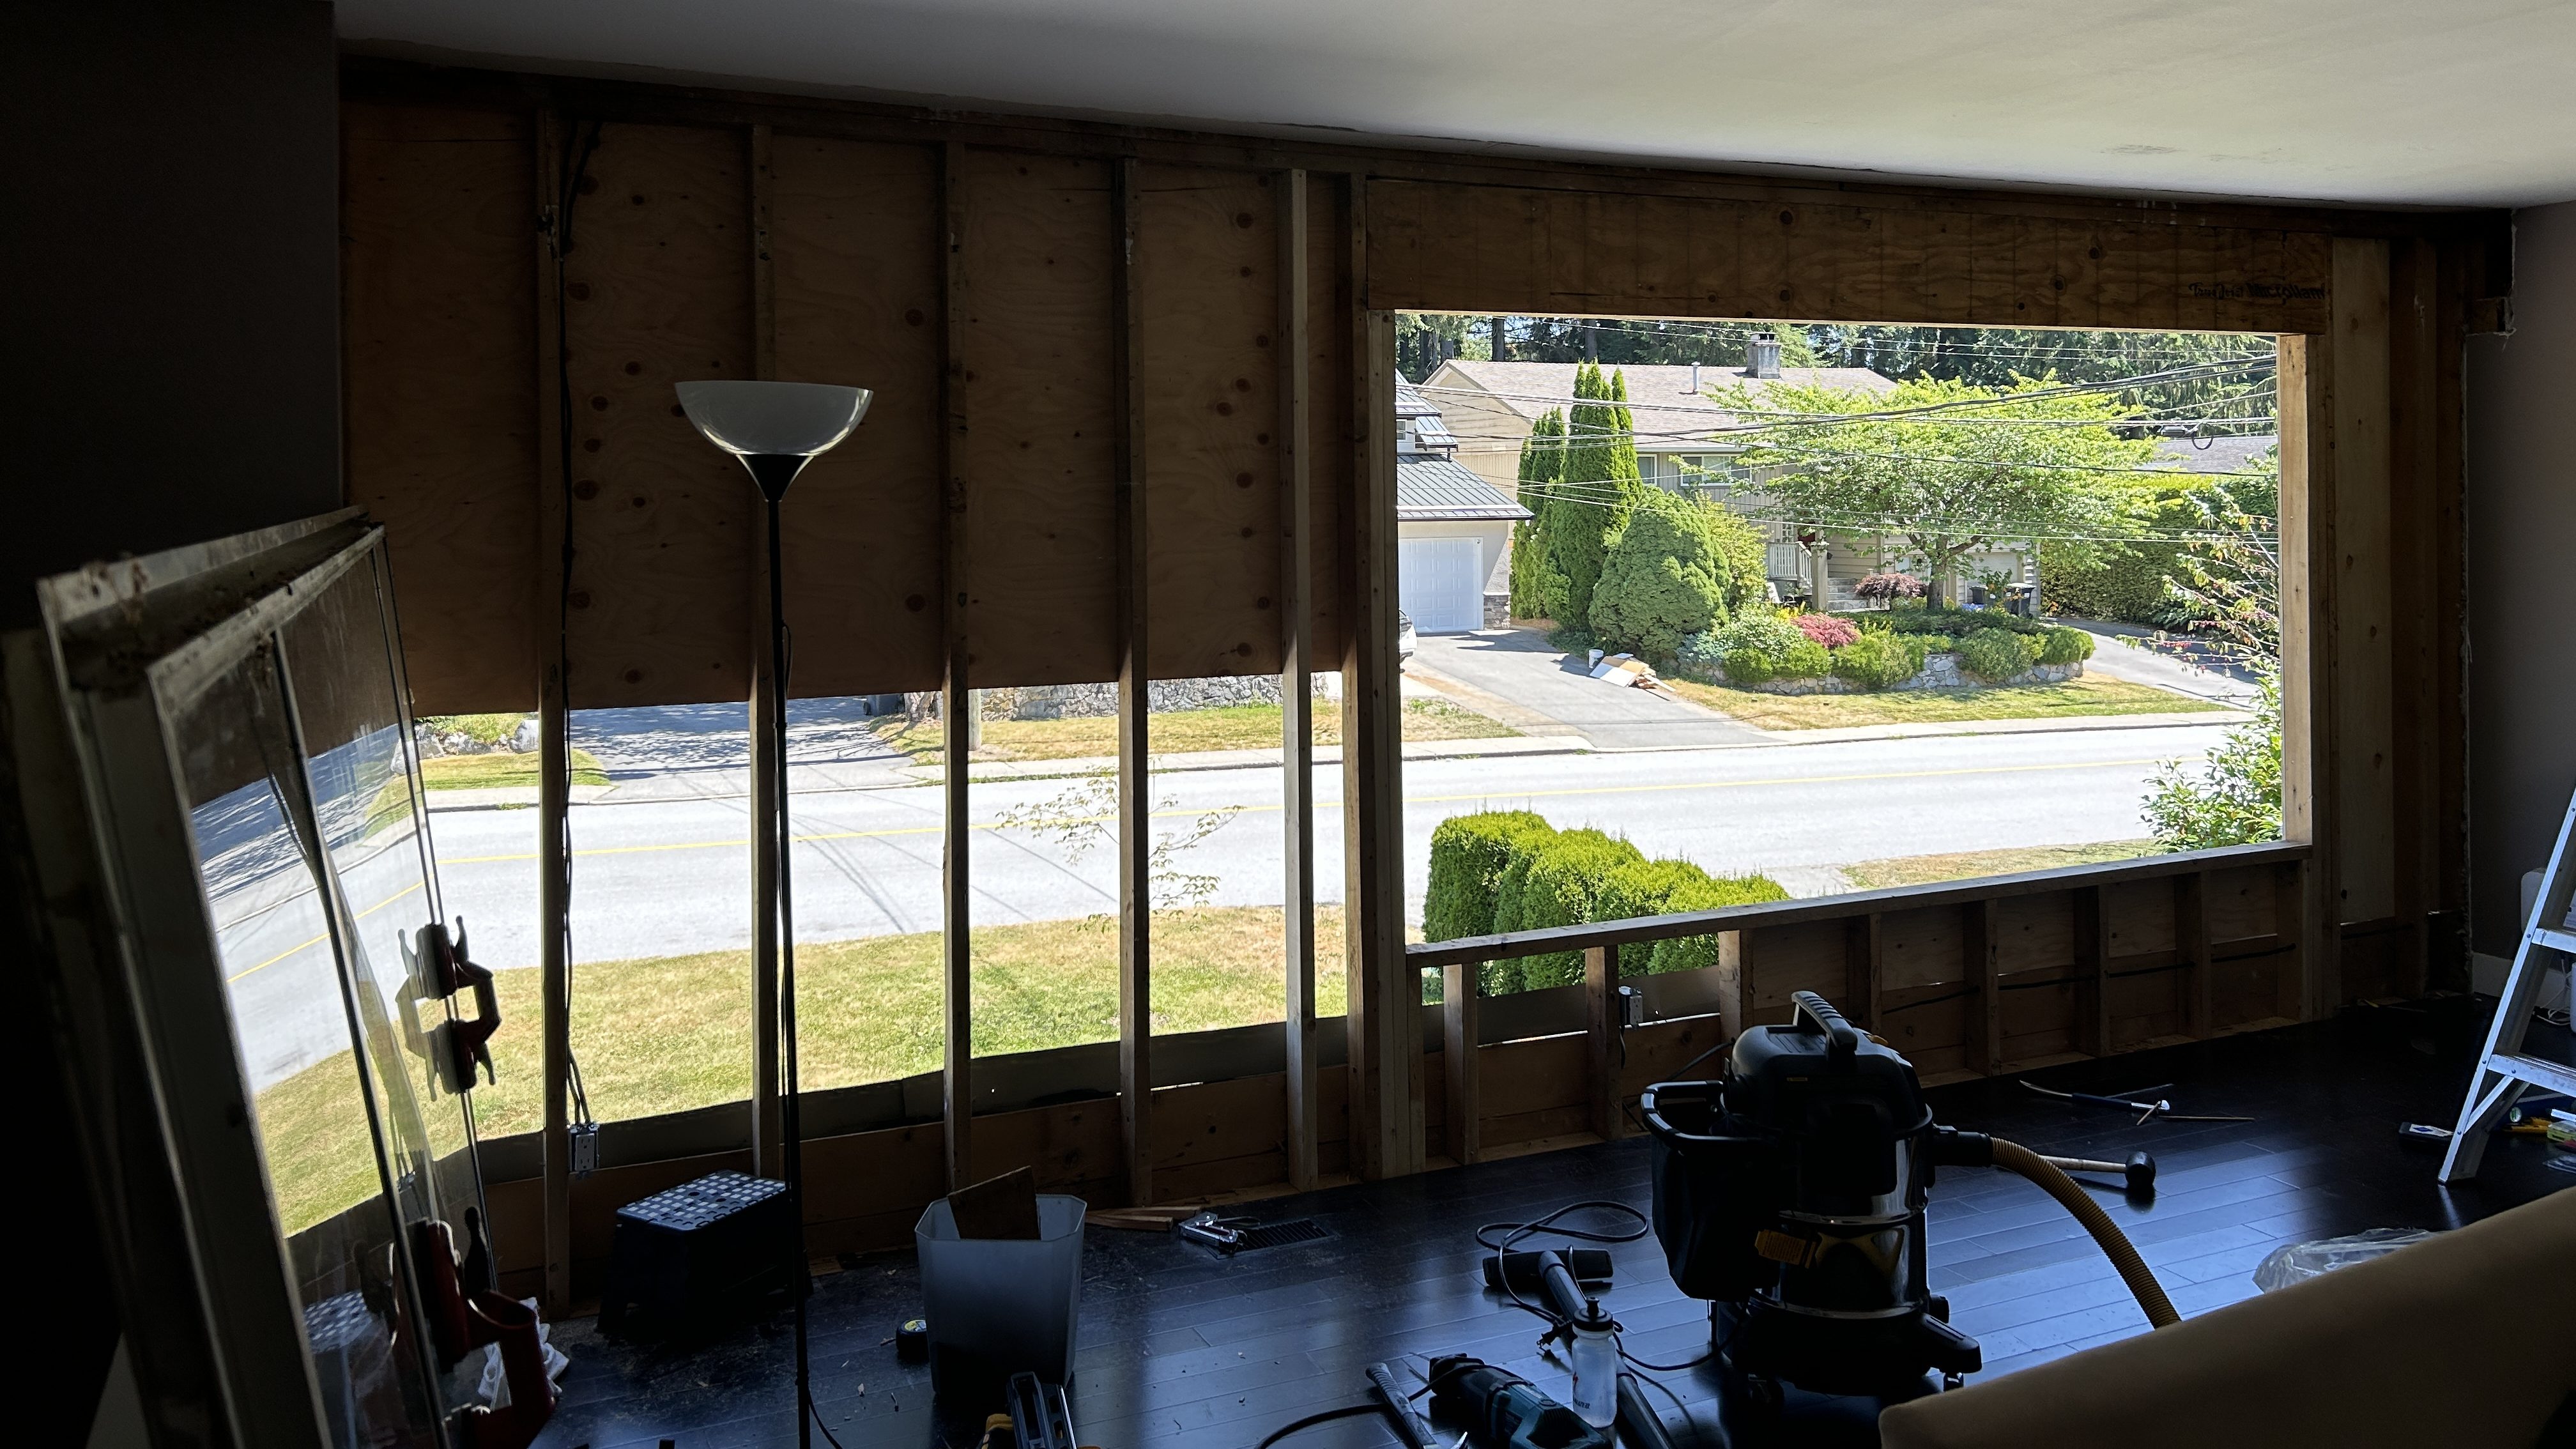
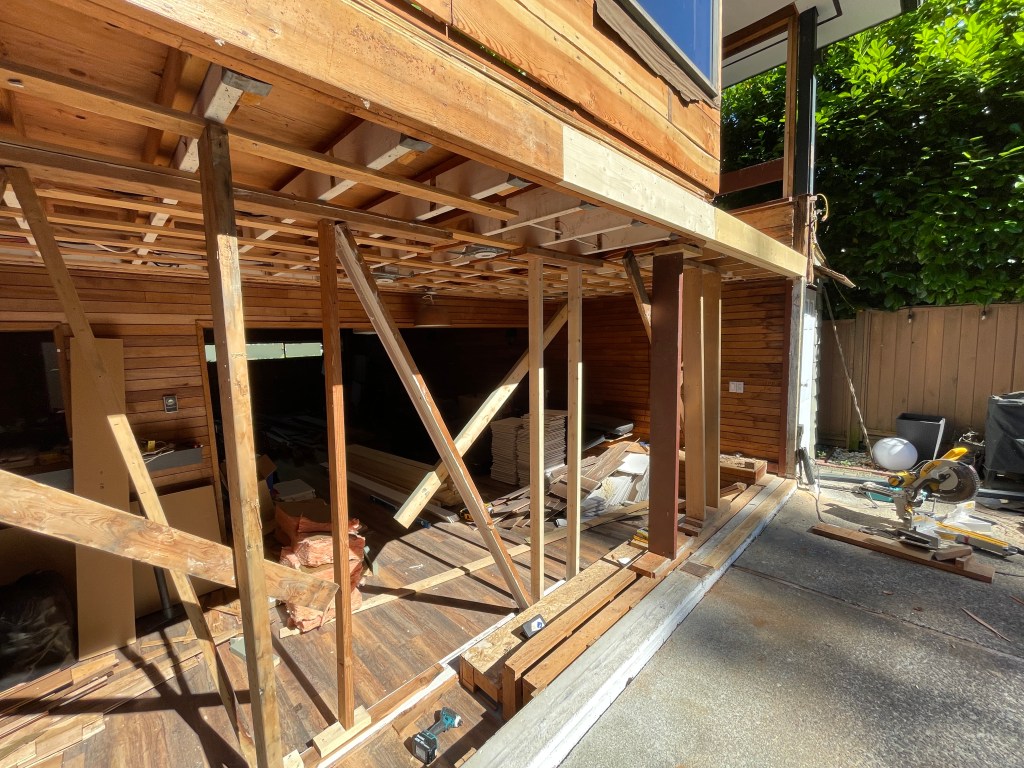
Step one of the wall re-framing was night-time work, removing plaster walls. This had to be done carefully as we assumed there was lead paint behind the newer layers of paint; painful but obviously necessary. Next, the day-time work: we put up temporary framing to support the structure while we took down the existing framing; sawed, measured, and put in new framing; replaced the sheathing; and then either re-installed the old window or boarded up the opening until the new windows would come. Below is what it looked like for the living room window.

a


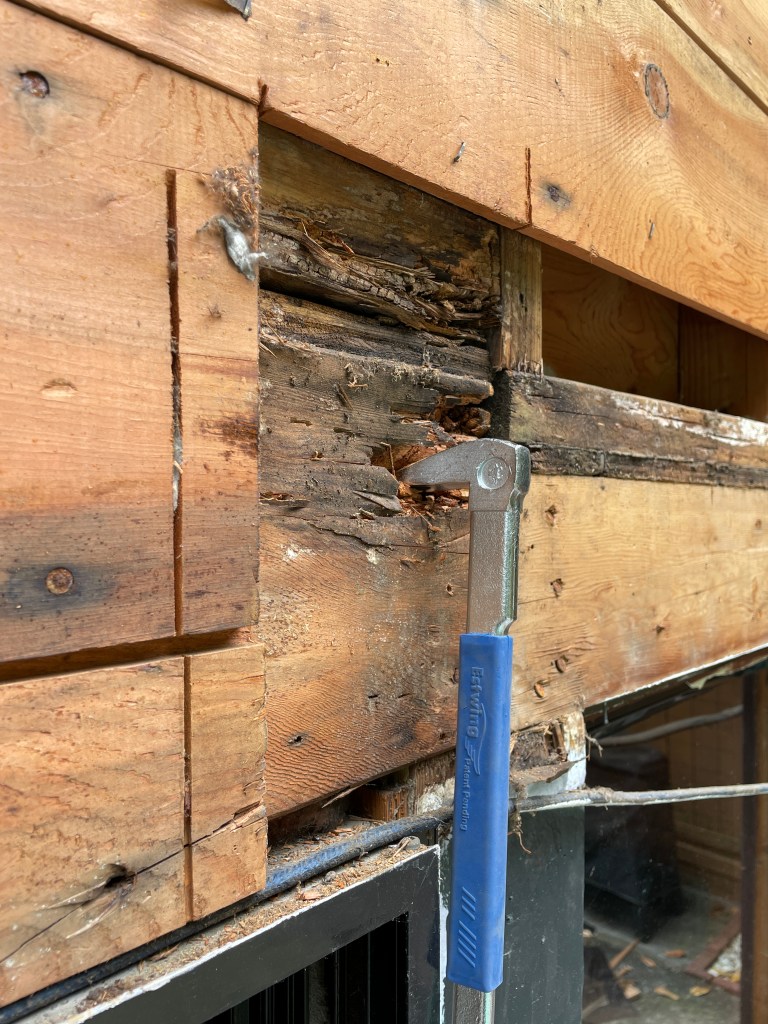
At the back of the house, we uncovered some rotten wood that had to be replaced. This was to be expected given that we live in a rainforest and 1960’s building science in single family homes was really lacking. Luckily it was just one post, two beams, and a bit of plywood flooring, all parts we could replace without too much extra work.


For windows where the rough opening was not changing, we prepped them by removing the trim and cladding around the outside of the window, and removing plaster at the inside so that the installers would be able to get them out. We also put a self-adhesive vapour-permeable air and water barrier membrane on the sheathing around the sill (we used Soprema Sopraseal Stick VP) so that the installers could lap the window opening membrane correctly.

By some miracle, we managed to get all of the re-framing complete and rough openings prepped in time for the window installation!
