I was beyond excited for window delivery day. Reid had worked extremely hard to get everything ready in time, and I had worked extremely hard to keep the kids out of the way!
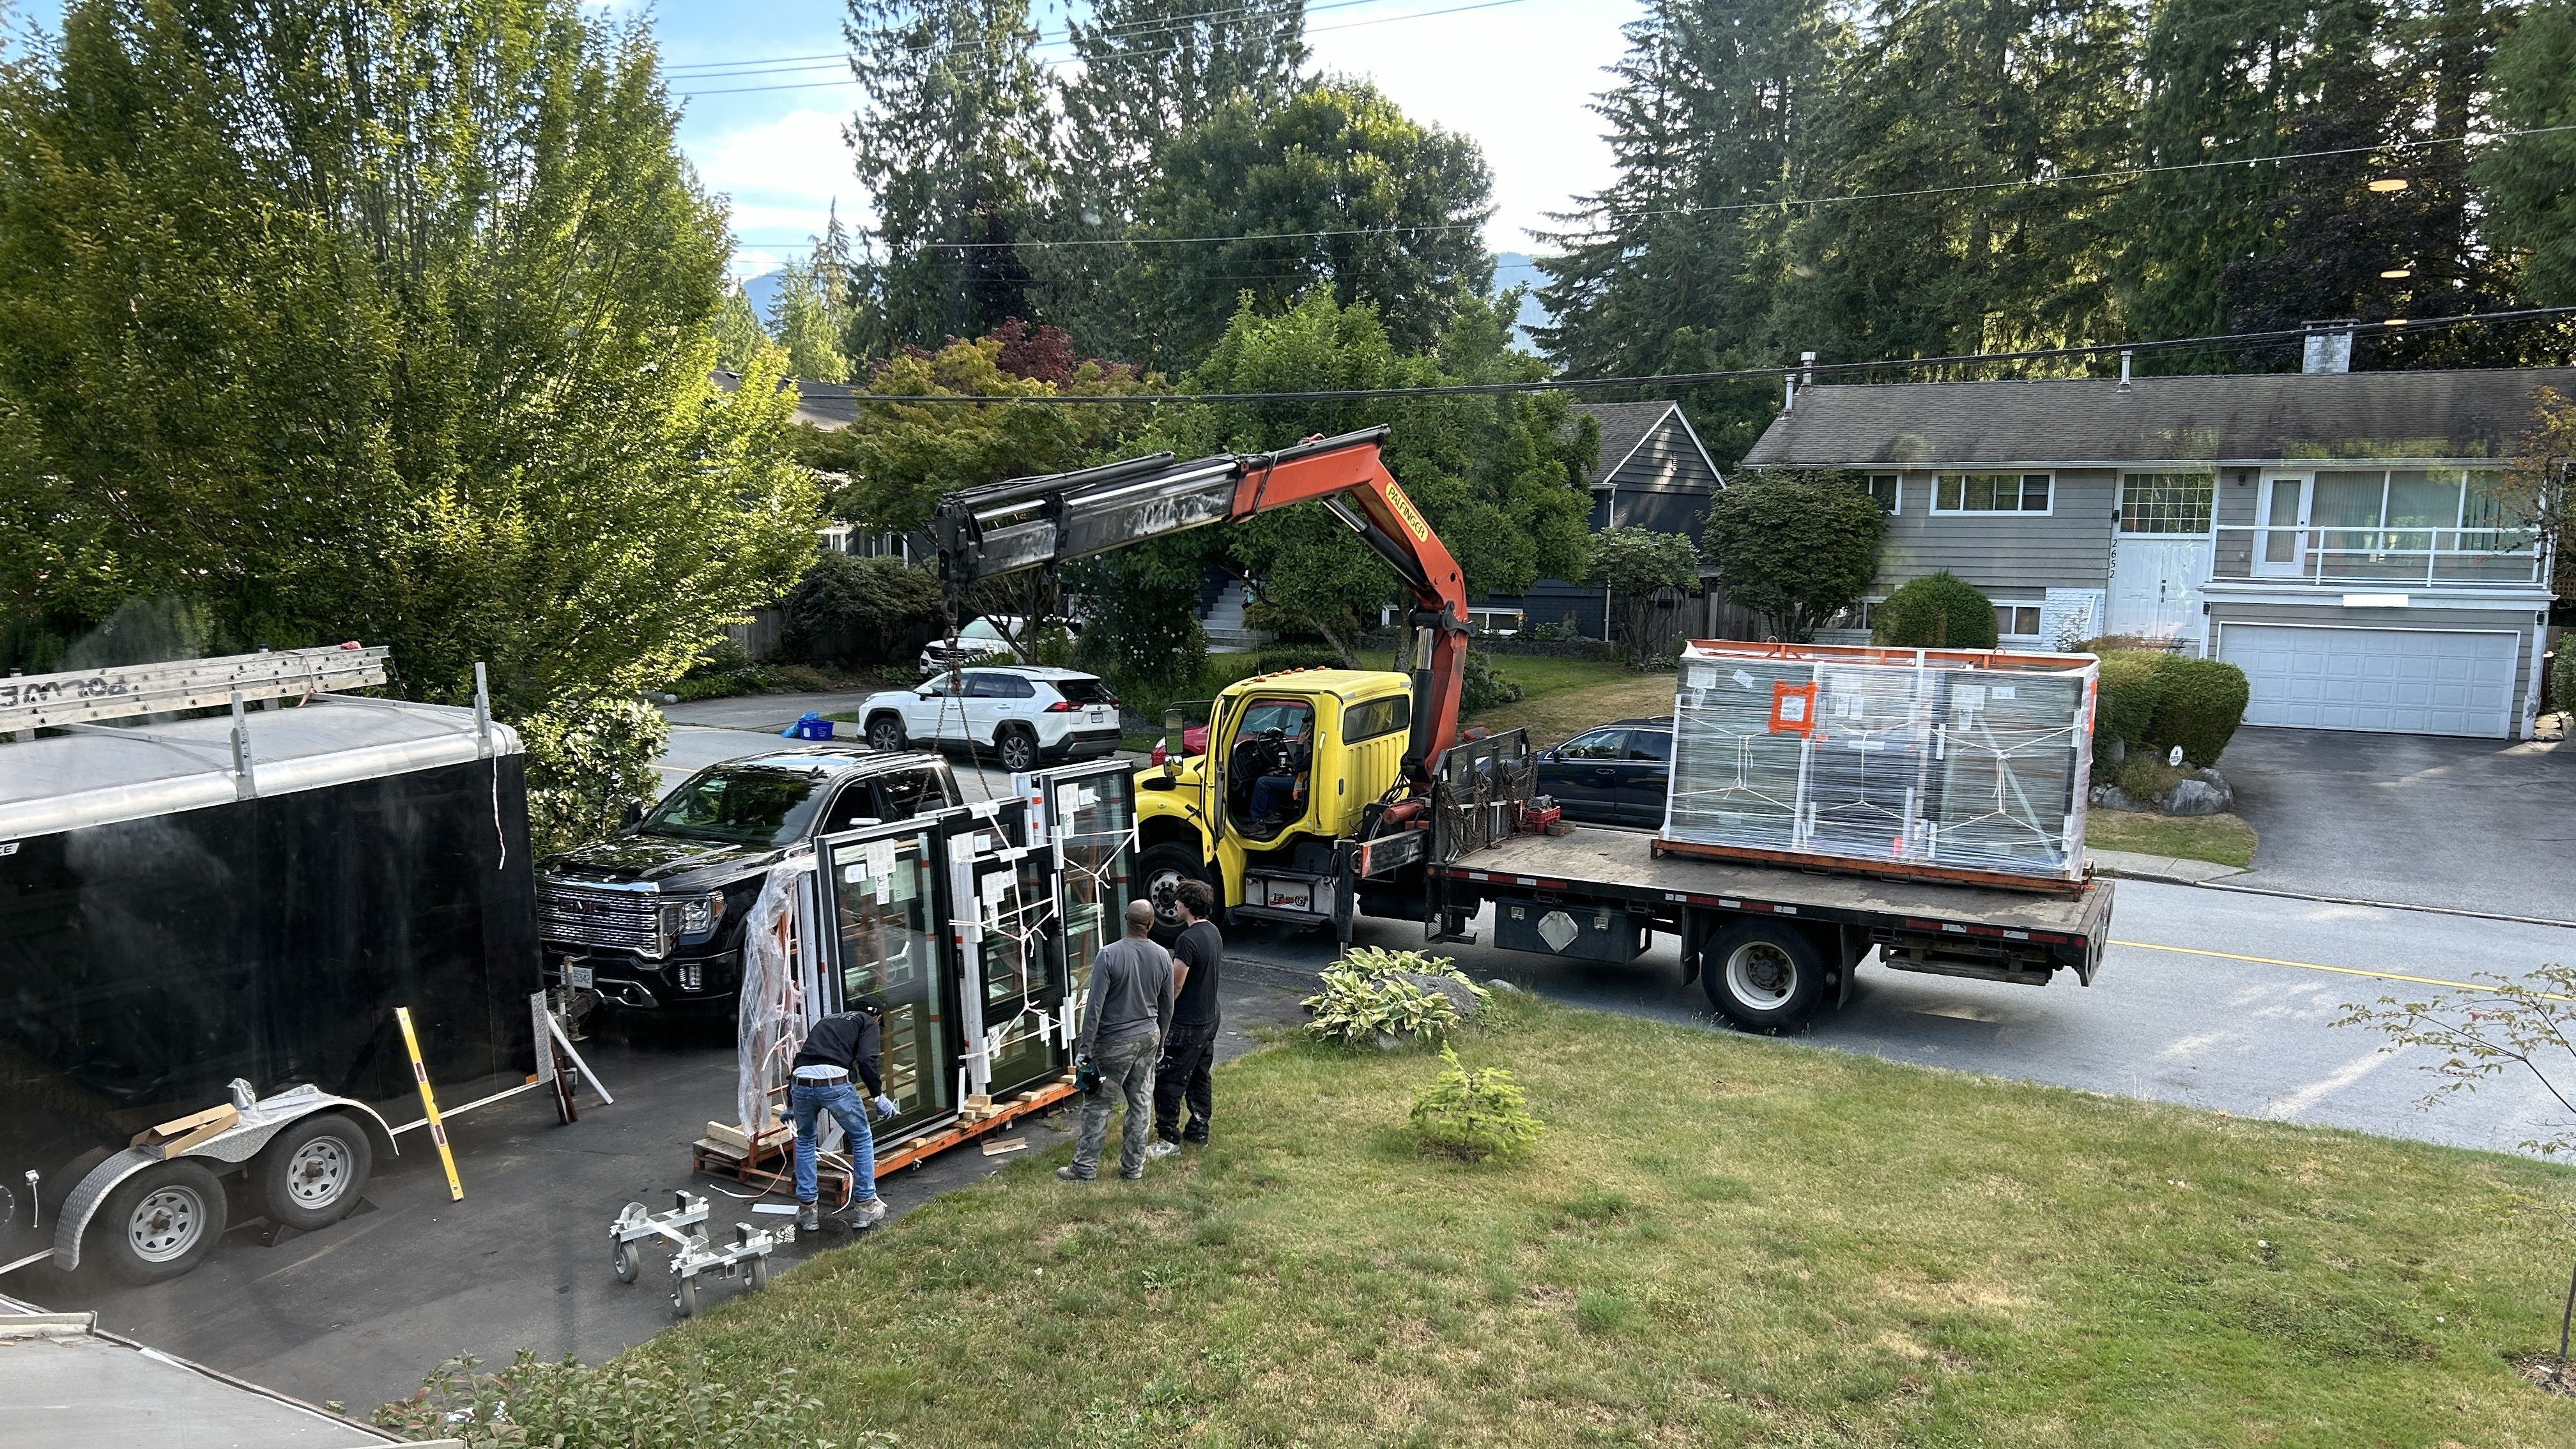
Having our windows installed was one of the few things in this project that we did not do ourselves, mainly because there was no way we’d be able to lift 500 lb windows into place. The installation cost was money well spent.
The windows arrived bright and early on a sunny Monday morning, early enough for the kids to watch them being craned off the truck!
Good window installation details are super important in our extremely wet and rainy climate. A few of our old windows had shown signs of leaks, and we obviously wanted to prevent this in our newly renovated house. It’s also important in any climate to keep the house airtight, as the joint between the window and walls can be a big source of air leakage if not done well.
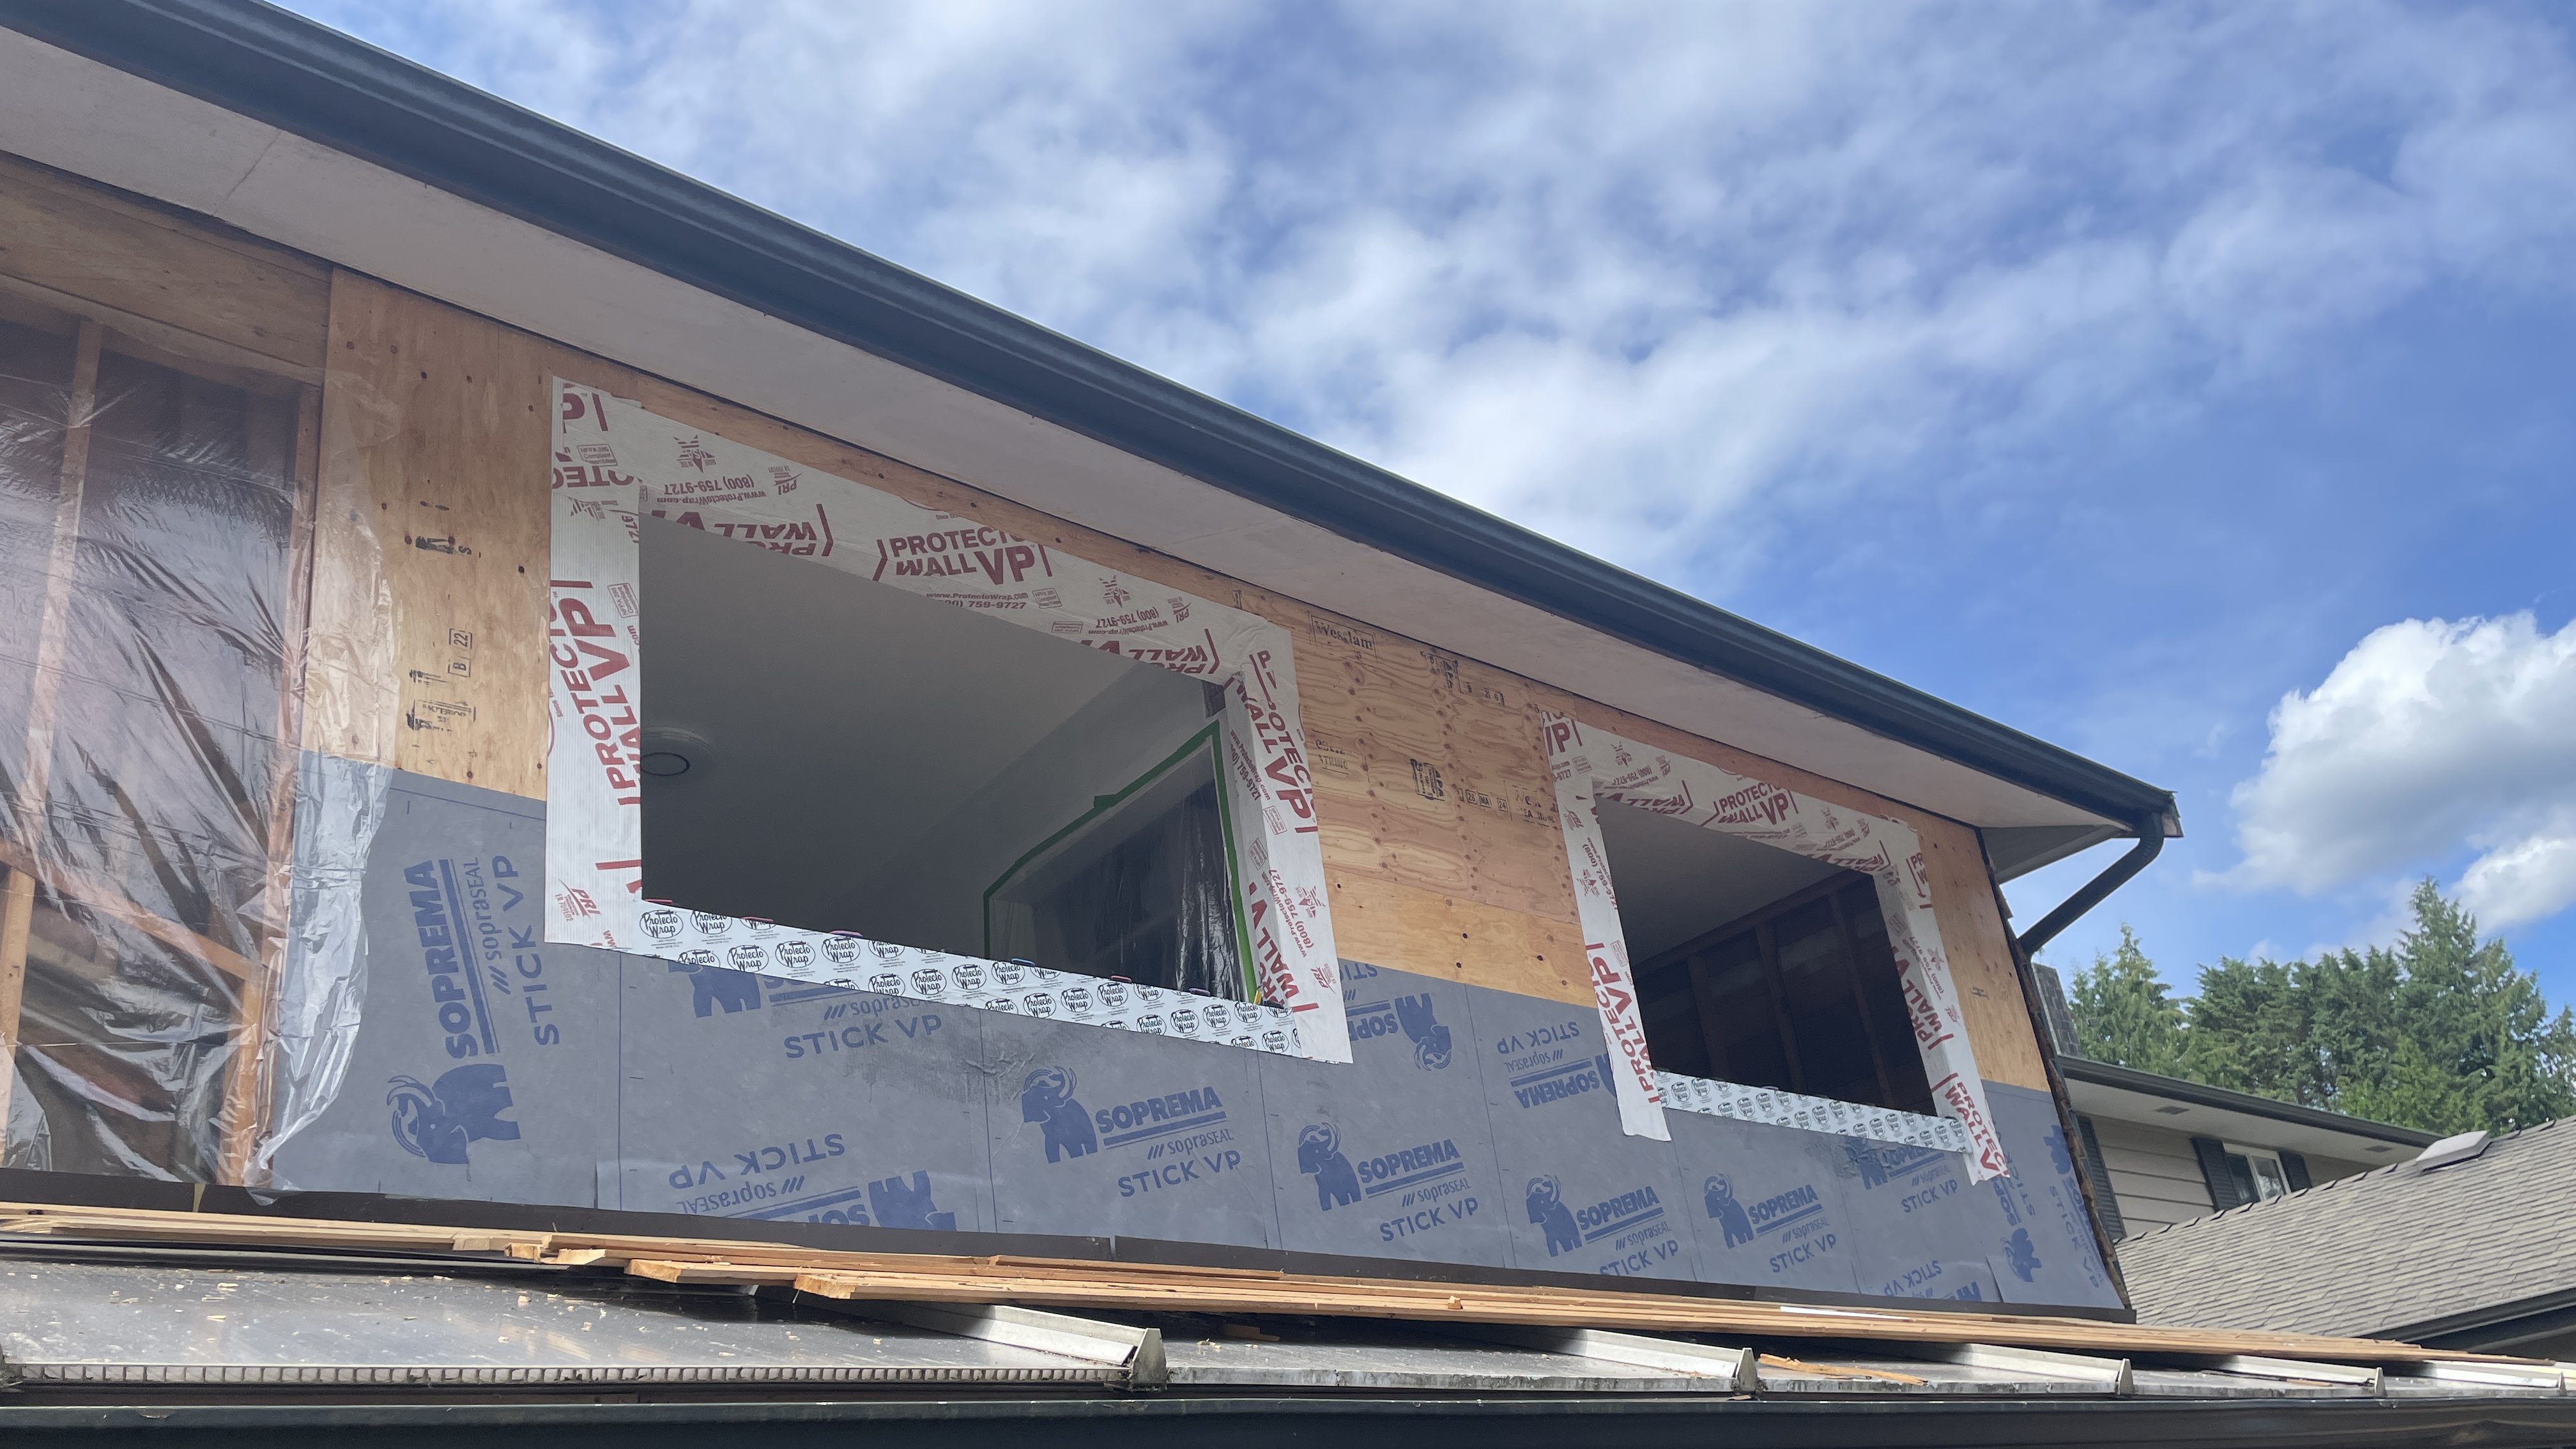
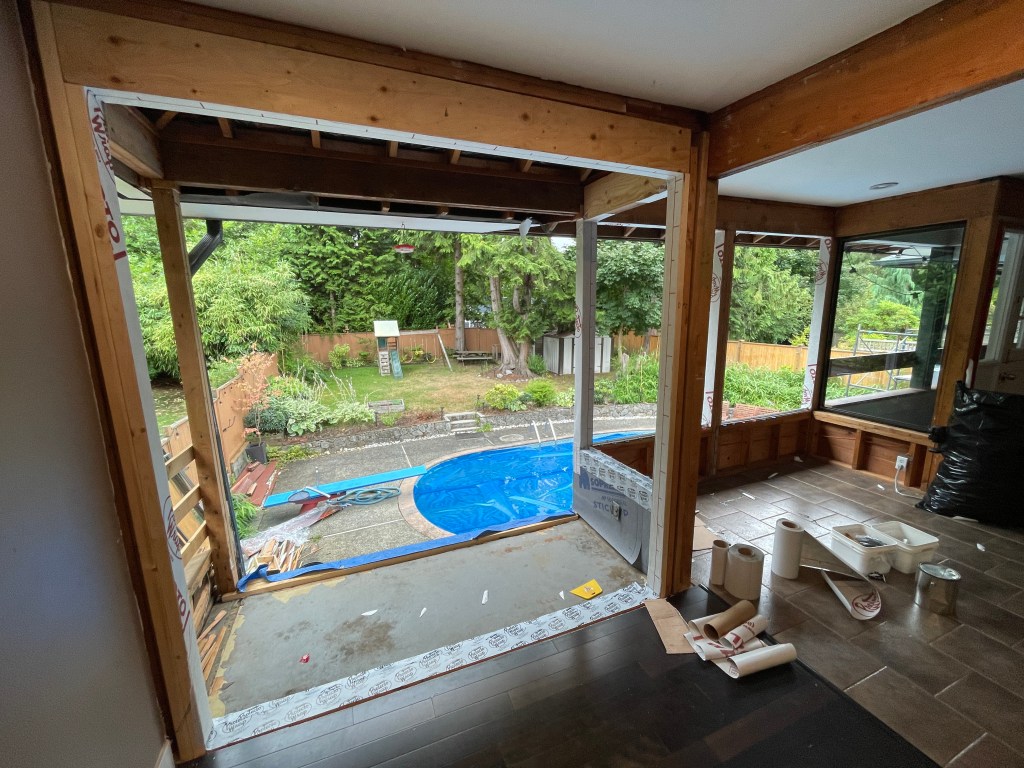
Before the windows came, we installed our air and water barrier membrane below the windows. This membrane will keep our house airtight (once we connect it at all of the joints and penetrations to have a continuous air barrier) while allowing the walls to ‘dry out’ if moisture gets inside the framing, which is important since we’re putting insulation both inside and outside. It’s also our primary water barrier, the last line of defence to keeping water out of the house. Horizontal joints in the membrane should have the upper sheet lapped over the lower sheet so that water runs down past the membrane without getting into the wall at the seam. This is why it was important to install the lower sheet first, so that (1) the membrane around the window sill can lap over top of it, and (2) the upper wall membrane can lap over the lower wall membrane (and the rest of the window opening membrane). Basically, everything needs to be connected in the right order to make the house air and water tight.
So with our membrane in place (Soprema Sopraseal Stick VP, but our kids call it the “elephant paper”), the installers started by preparing the rough openings by wrapping them with another self-adhesive air and water barrier membrane. They used a different product but similar function to our elephant membrane.
Next the installers placed shims on the sill, which are thin U-shaped pieces of plastic used to create a level surface. They also install a back dam angle, which is a metal bar embedded in sealant and screwed into the inside edge of the sill to prevent water from getting inside. Ready for the window!

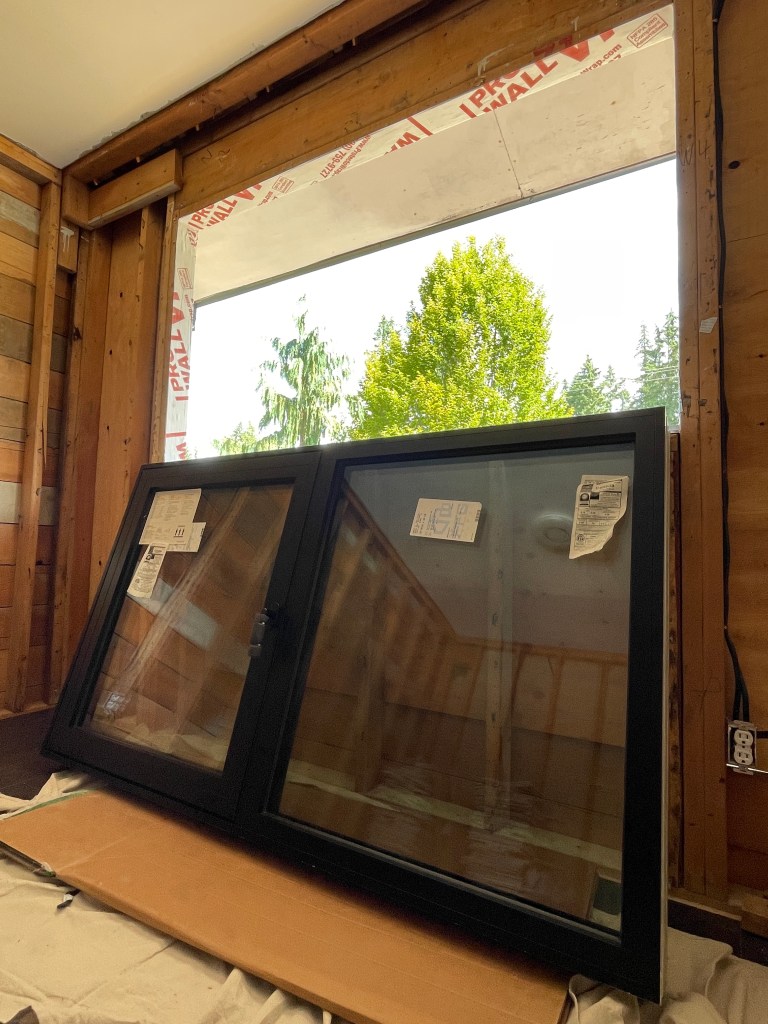
All that was left now was to lift the windows into place! Triple glazing made for extremely heavy windows, and we had some big ones. Most of the windows were carried and lifted into place by the installers, but for the large living room window at the second floor they used a lift. I unfortunately was at work that day so didn’t get a picture, but coming home to have it done made us feel like the installation cost was money well spent!

Once the windows were fastened in place, the final step was to connect the air and water barrier from the wall to the window frame. They accomplish this by sticking backer rod (basically a foam tube) in the gap between the wall and window, and then installing sealant over the backer rod. Backer rod is important to make sure the sealant is adhered correctly and performs well (ie. stays air and water tight!) over time.

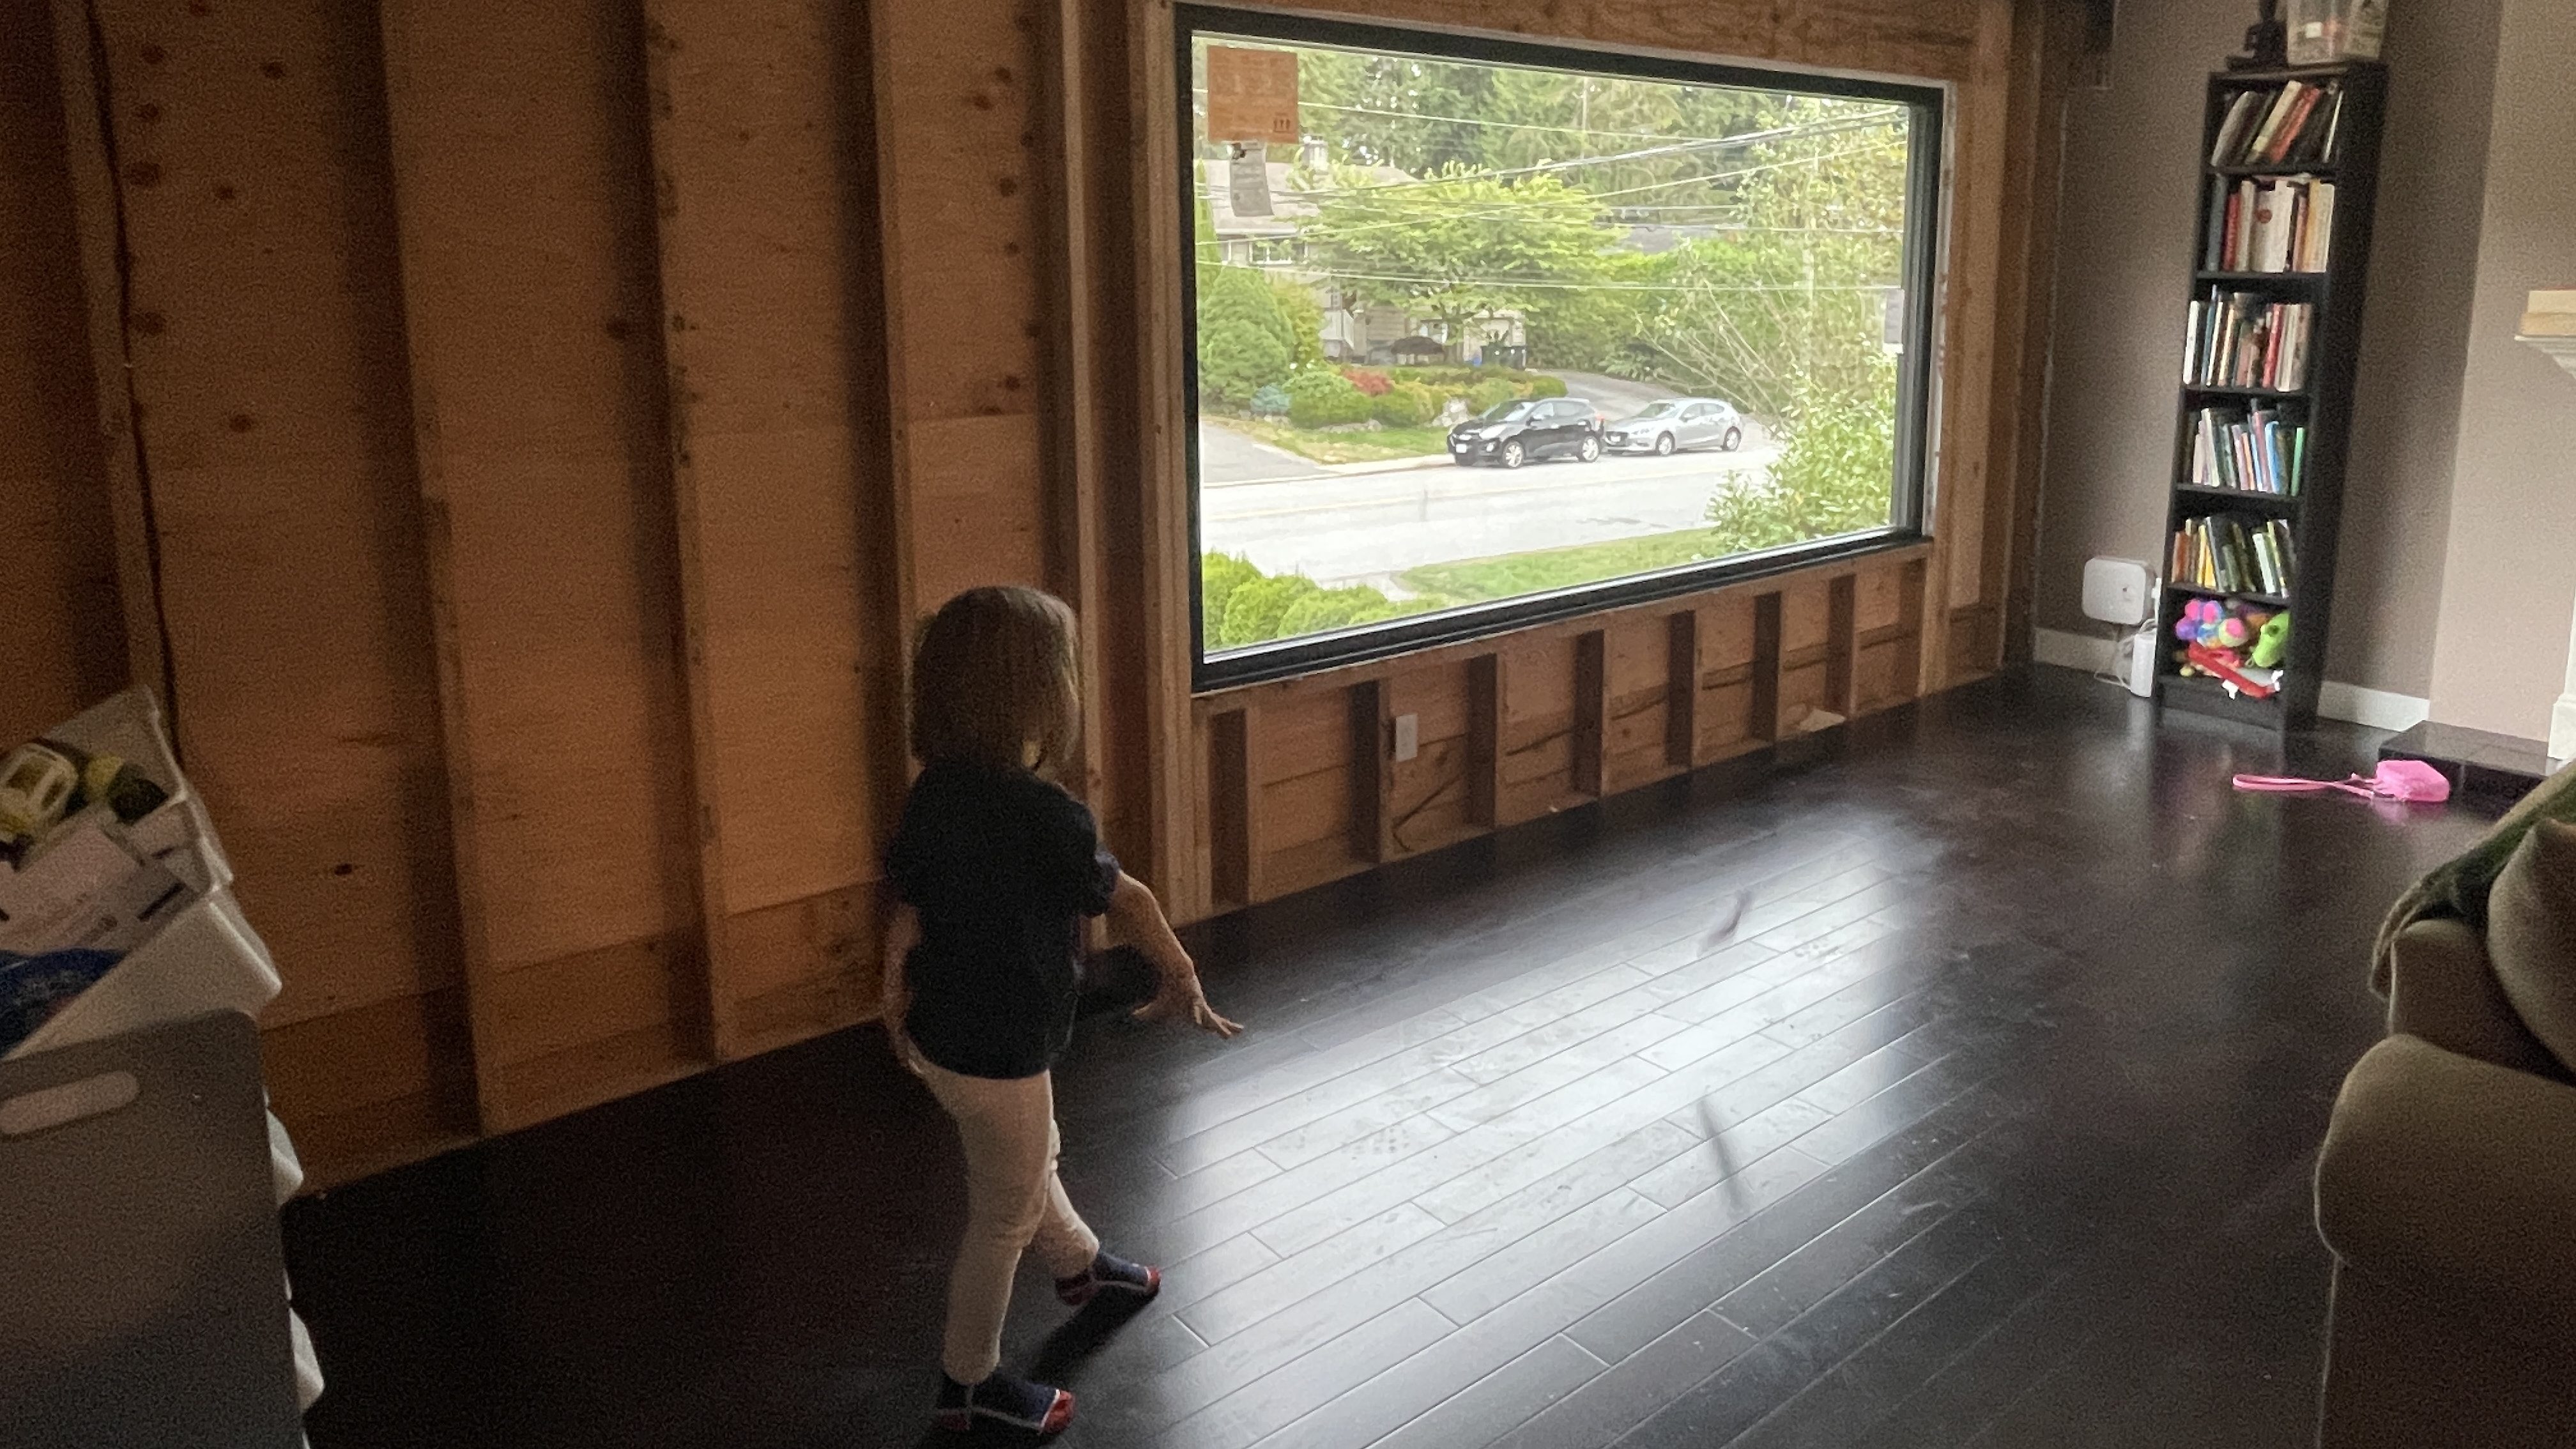
The install took only three days, which we thought was pretty amazing, particularly given how long things take when we’re doing it ourselves! Three days to go from old, cold, leaky, ugly windows to beautiful, warm, air and water tight windows. A huge upgrade for our home in many ways. Still so much to be done, but this was a big step, and it felt really good.

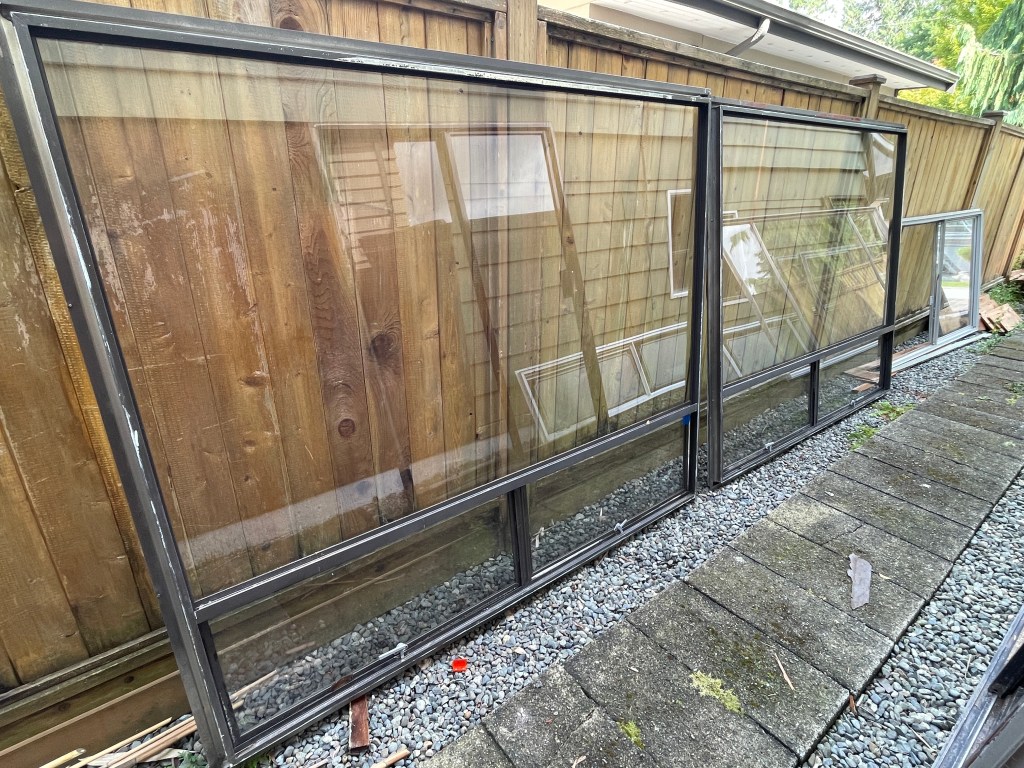
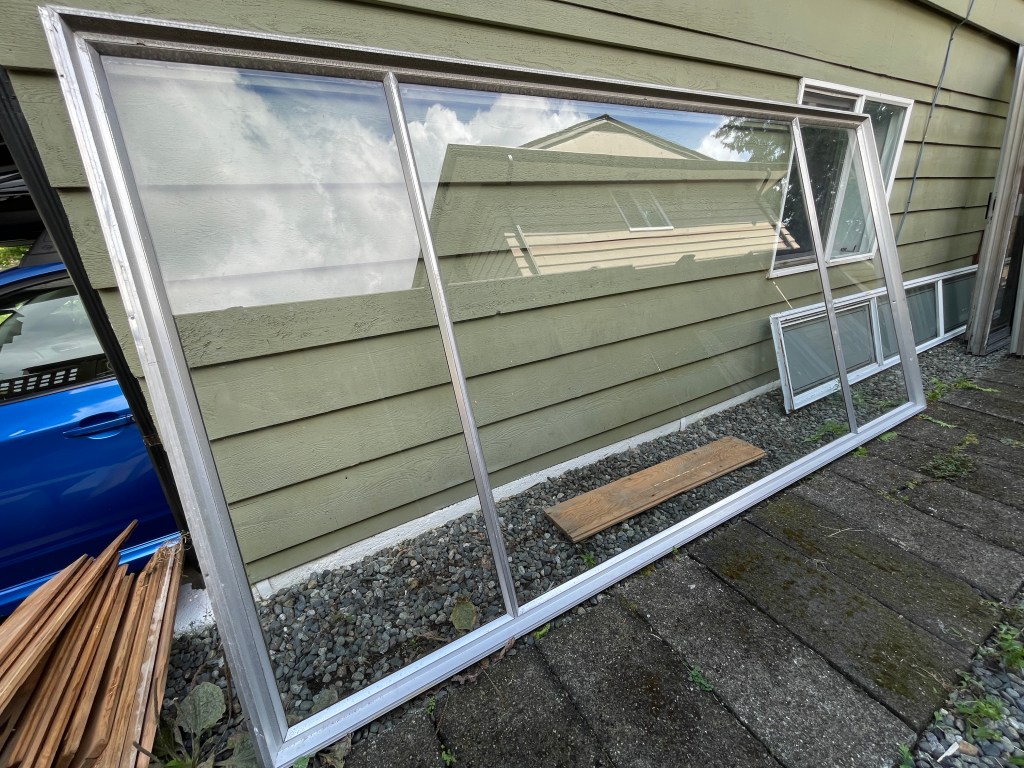
The final step was getting rid of the old windows. Facebook Marketplace is an amazing thing, we’ve learned that you can give away almost anything on it. And it turns out, old single glazed aluminum frame windows are no exception! Rather than figure out how to haul the old windows to the dump ourselves, we just posted them for free and within a day someone came to get them. He broke the glass, threw everything in his van, and went straight to the recycle depot to trade the scrap metal in for a few hundred dollars. Well worth an hour’s work for him I’m sure, and well worth having someone take them off our hands for us.