
With the windows installed, we could finally start finishing rooms. This would be an extremely slow process with our very limited work hours schedule, but with each room finished comes motivation to keep going.
But first, a few technical details. We are aiming for highly insulated walls, with insulation both inside the stud cavity and at the outside of the walls. For the interior insulation, I decided to go with dense pack blown cellulose insulation. I chose this because it’s a very low embodied carbon product (it’s basically recycled newspaper), and it’s also healthy (no Volatile Organic Compounds or other harmful emissions that some insulation materials have).
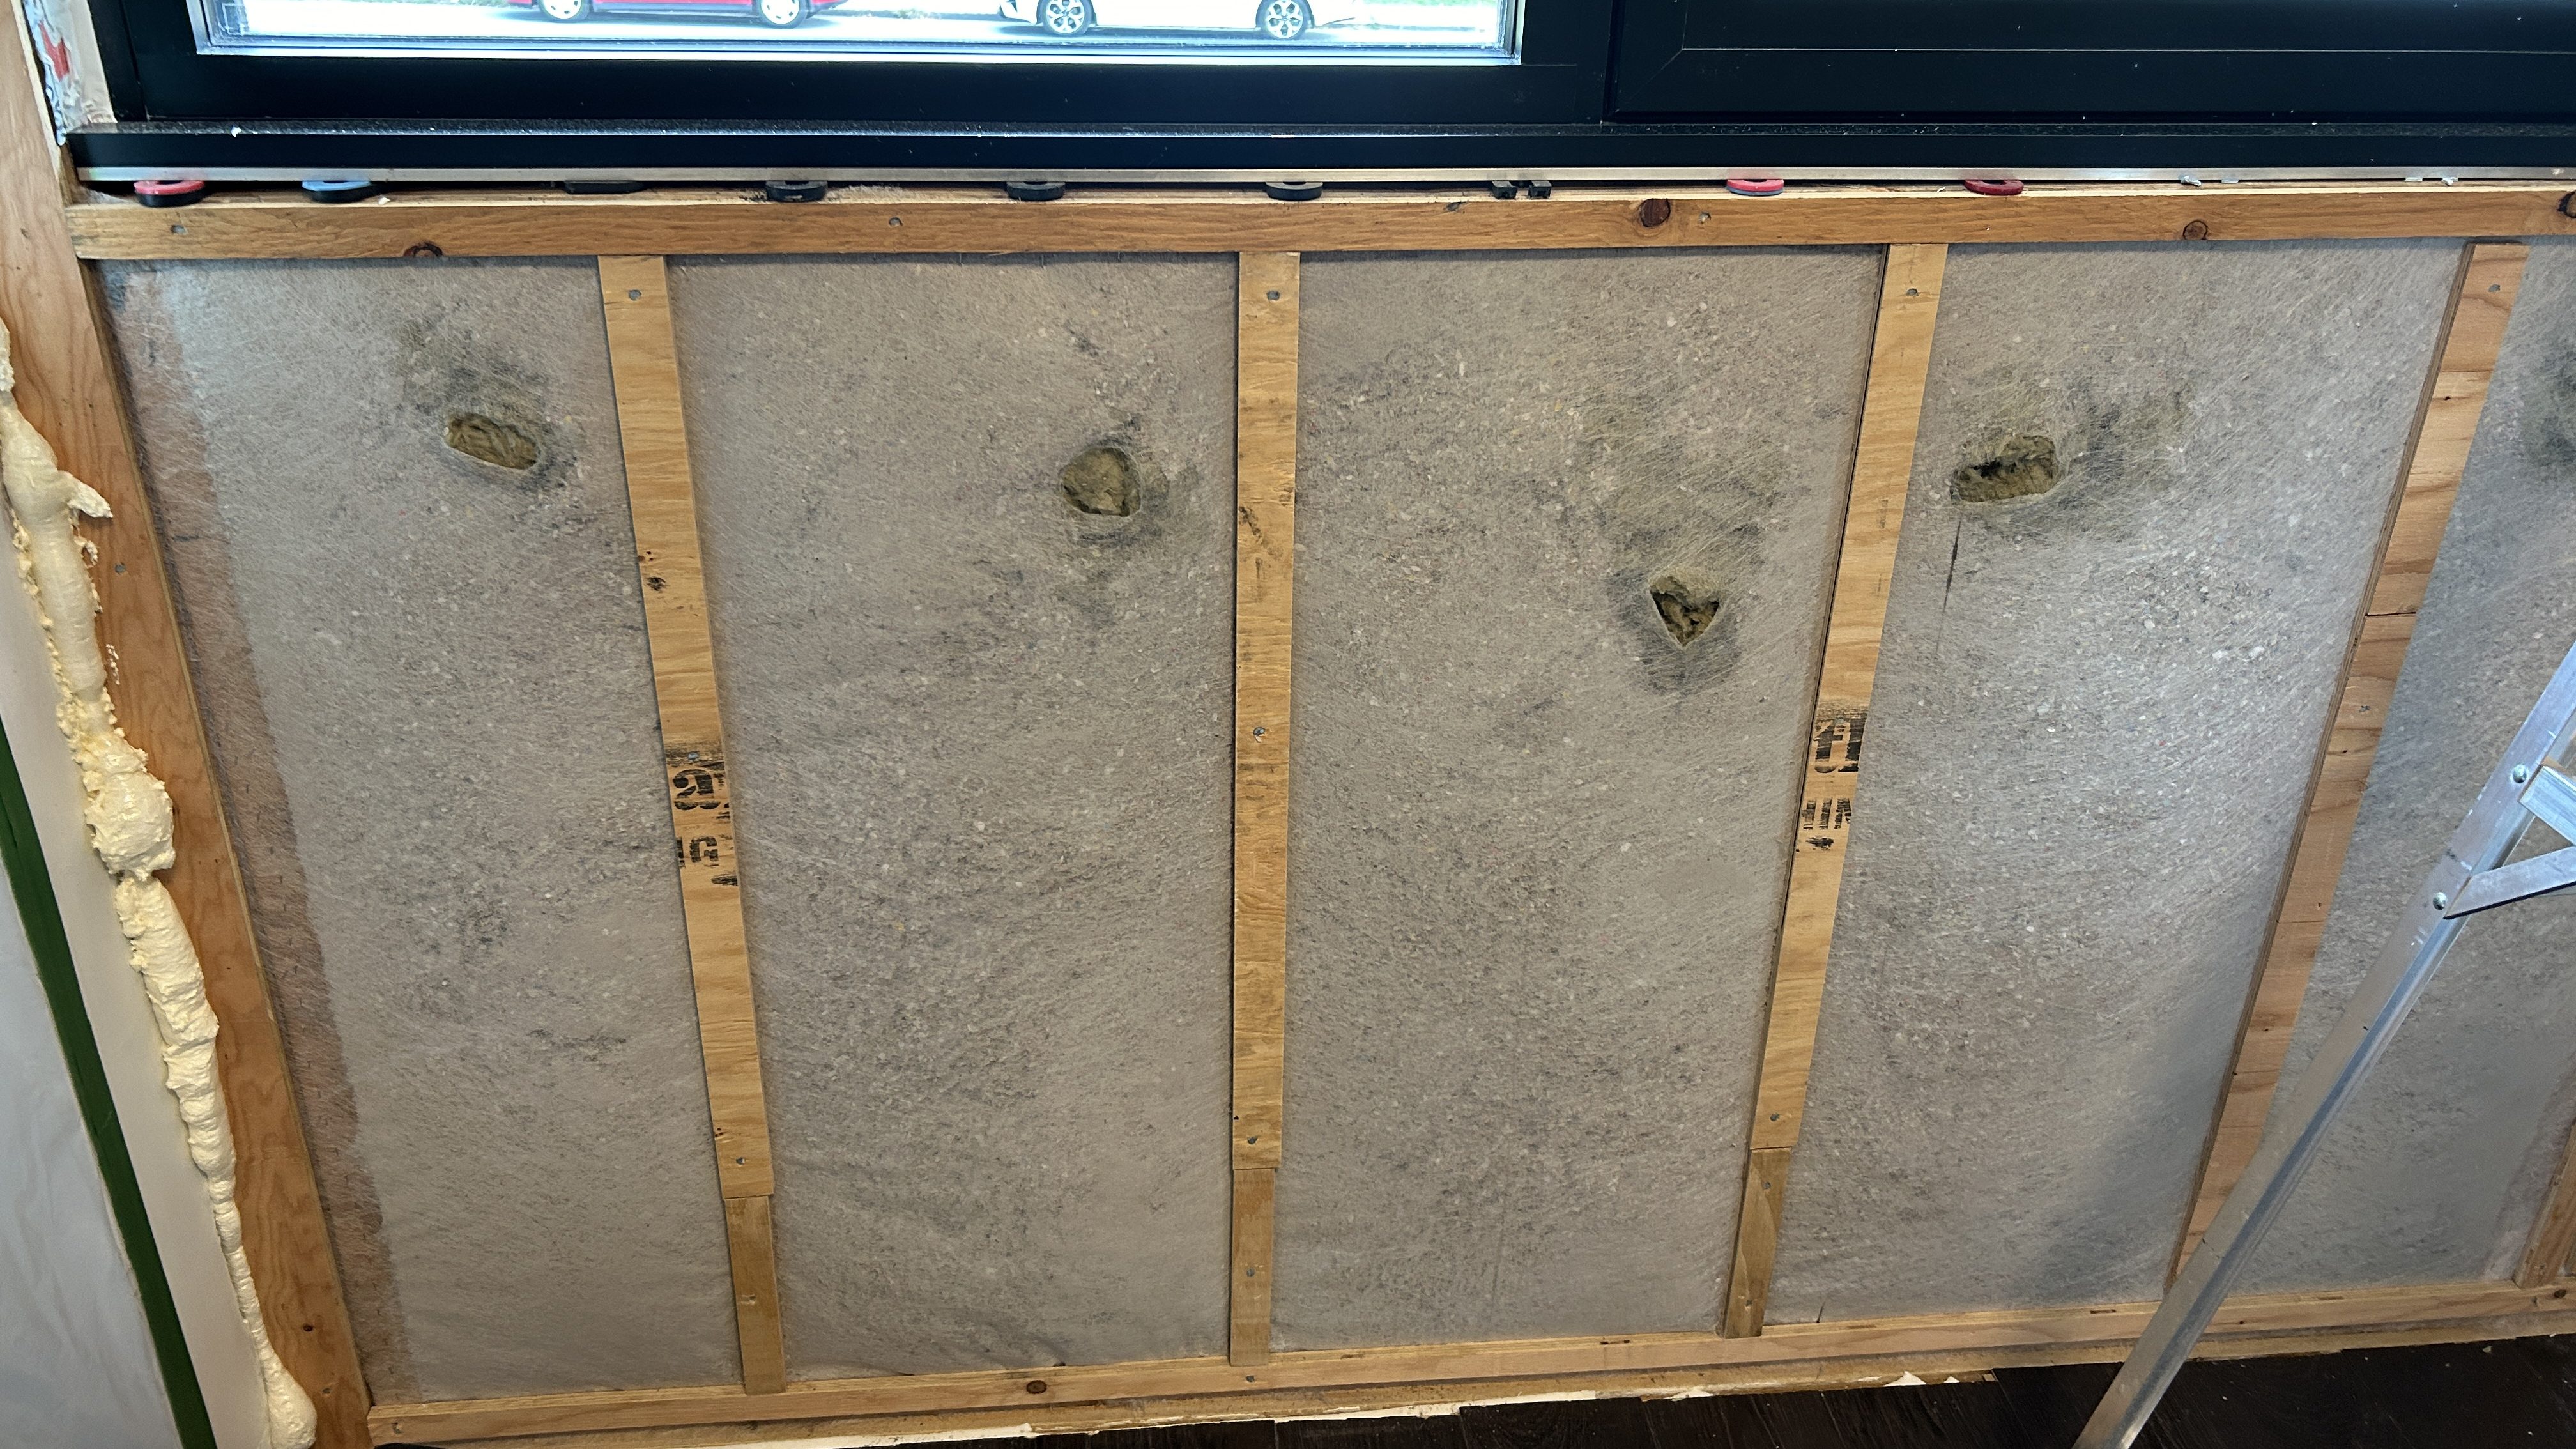
As the name implies, blown cellulose is installed by blowing insulation into the stud cavity. They use a commercial blower to achieve a high density, which meant that this was another job we could not do ourselves. It was also very messy, as the blowing process resulted in a thin film over everything in the room. This was not a big deal for rooms that were completely empty, but for any rooms that we were living in, I set up poly enclosures to keep our things clean-ish. It partly worked; there was definitely still cleanup required, this stuff got everywhere!

The installers began by stapling a mesh fabric over the stud cavities that would be receiving the blown cellulose insulation. They then cut a hole in the mesh of each stud bay. They ran a long pipe from their truck, into the house, and into the hole of each stud bay; they turn it on and pump the insulation into the stud cavities one at a time. The photo below shows why this is a messy process – lots of fine particulate making its way into the room, which looks like smoke in the photo but is really fine bits of recycled paper. A harmless product so not a big deal, but definitely a pain to clean up.

While I love that this insulation is low carbon and non-toxic, there were a few drawbacks to using blown cellulose for this project:
- Messy, with lots of clean up required. In empty rooms this just meant giving the floors a good clean, but in our living areas it meant carefully taking down the poly (now coated in a thin film of insulation) and cleaning every surface in sight of the walls, because the poly didn’t completely contain it.
- Not a perfect installation. The installation process left lots of gaps and voids, mostly at corners where it didn’t quite fill the stud bays. Because I’m particular about insulation I meticulously filled these voids with other leftover insulation that we had, but this was a slow and painful process.
- Insulation “bagging” means you need to add strapping to the studs. The insulation pushes the mesh out a bit, creating a thicker wall between the studs. To install drywall over this we needed to put 1/4″ strapping over all of the studs, which added another step and created slightly thicker walls.
I’m a bit torn over whether I would use this insulation approach again. It’s a good material, but probably not worth the effort in a house we’re living in. Sticking batt insulation between studs would have been much easier.

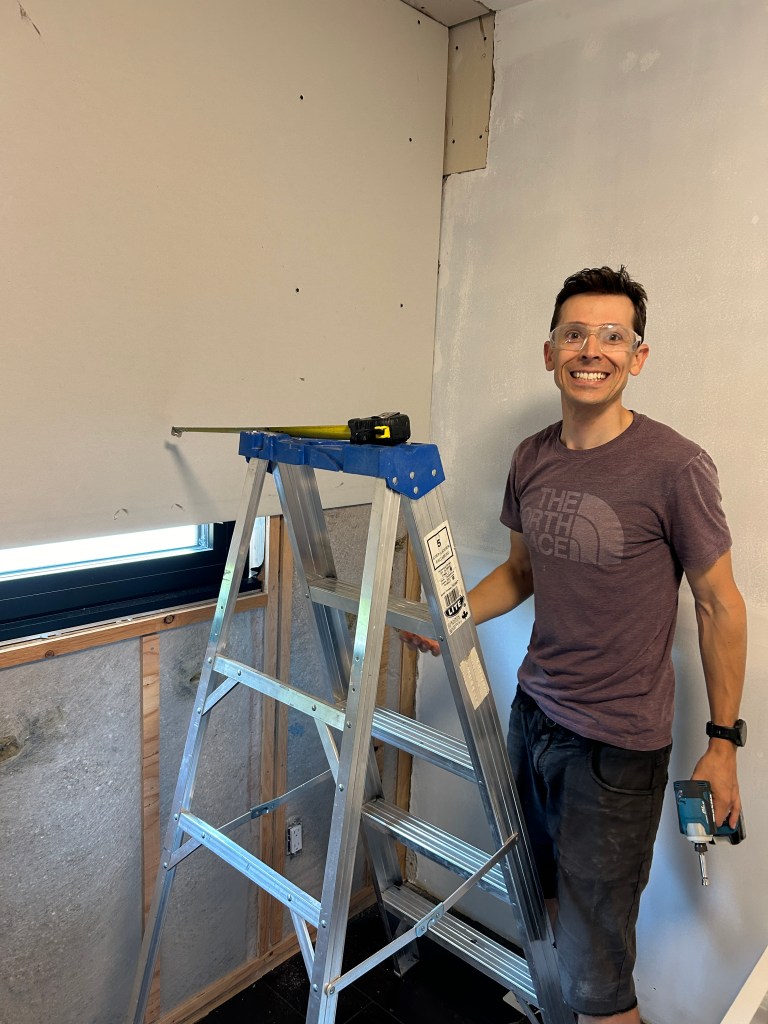
Every single person I know who has done any sort of house renovations involving drywall told us the same thing: do not do your own drywall! But, we are going to have a lot of drywalling to do, and so Reid figured it was worth learning how to do it well. And he’s so detail-oriented that if anyone can do it, he can!
For windows where we didn’t need a permit, we were able to put the drywall back up right away. For the windows under our permit (where we changed the opening), we had to wait to finish the exterior insulation (to meet/exceed the code-required insulation value) and have our insulation inspection before we could put up drywall. And so, we started drywalling the bedrooms first, where we didn’t need a permit.
Lift and screw drywall into place. Tape. Mud. More mud. Sand. Paint. Baseboards & trim. More paint. Working mostly at night after our kids were in bed, this process took us about 3 to 4 months per bedroom. Painfully slow, but also very exciting with each finished room.
I’m learning that the details are the hardest part of this project. One tricky thing we had to decide on was how to finish the drywall around the windows. There are a few options, like drywall corners around all four sides, drywall corners at three sides with a wood sill, or wood trim all around. After much debate, we opted for the second option: drywall at the head and jambs (sides) and a wood sill. We re-finished the original wood sills which worked out very well. We’re vey happy with how the window interiors turned out.

Reid did an incredible job on the drywall taping and mudding. It looks flawless, definitely a DIY success! I am not one for detail-oriented construction tasks like mudding drywall. No matter how hard I try, I can’t get it to turn out well. But, painting is one thing that I can do! Once Reid gets through mudding and sanding, I give him a break and do most of the painting.
Of course, we chose low VOC paint. This paint has less odours so is healthier, and is really nice to install when you’re working in a house that you live in and/or when you can’t open the windows (it was winter!).

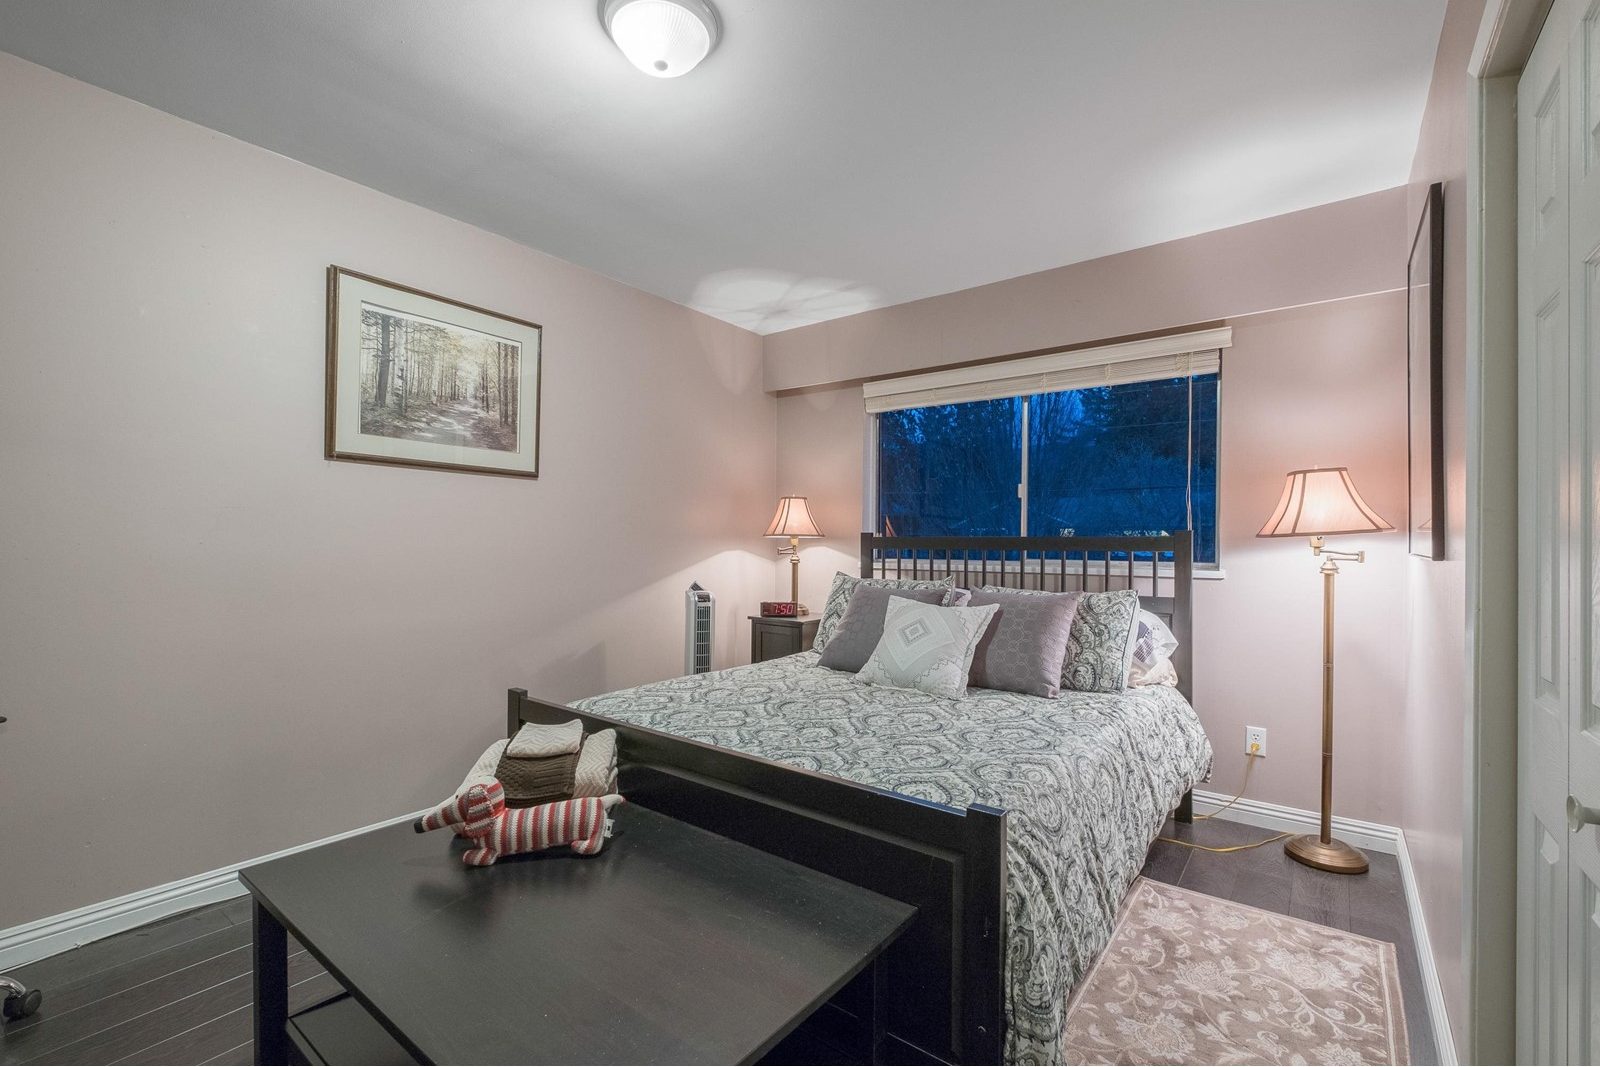
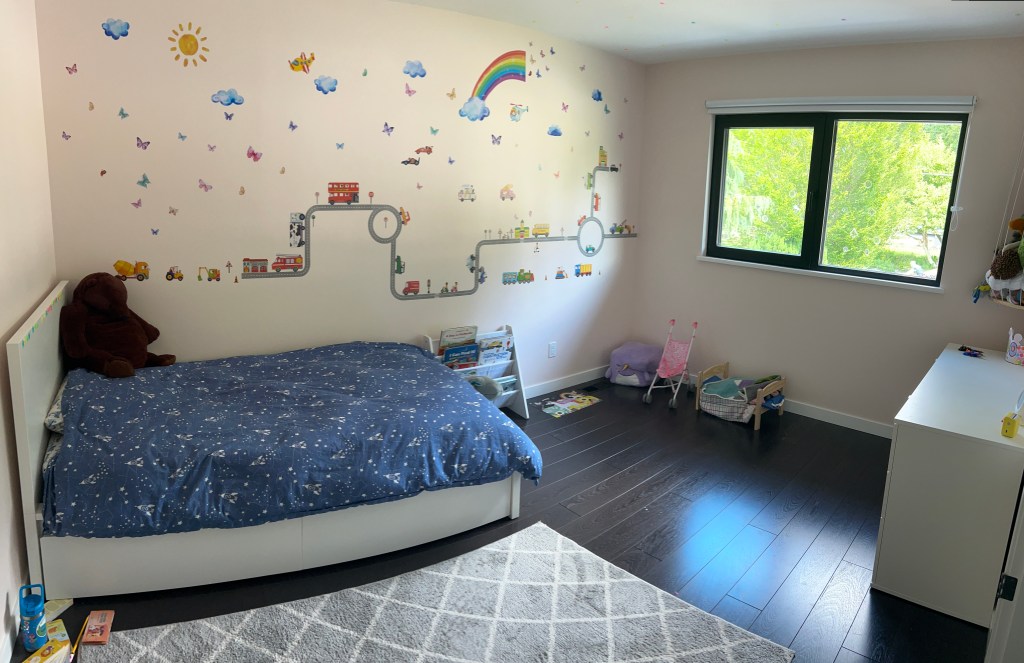
Ok, the big reveal! I’m definitely not an interior designer, so here are some very basic before an after photos. A big improvement, and I’m very happy with how the kids’ rooms turned out!
Small bedroom before, during, and after:


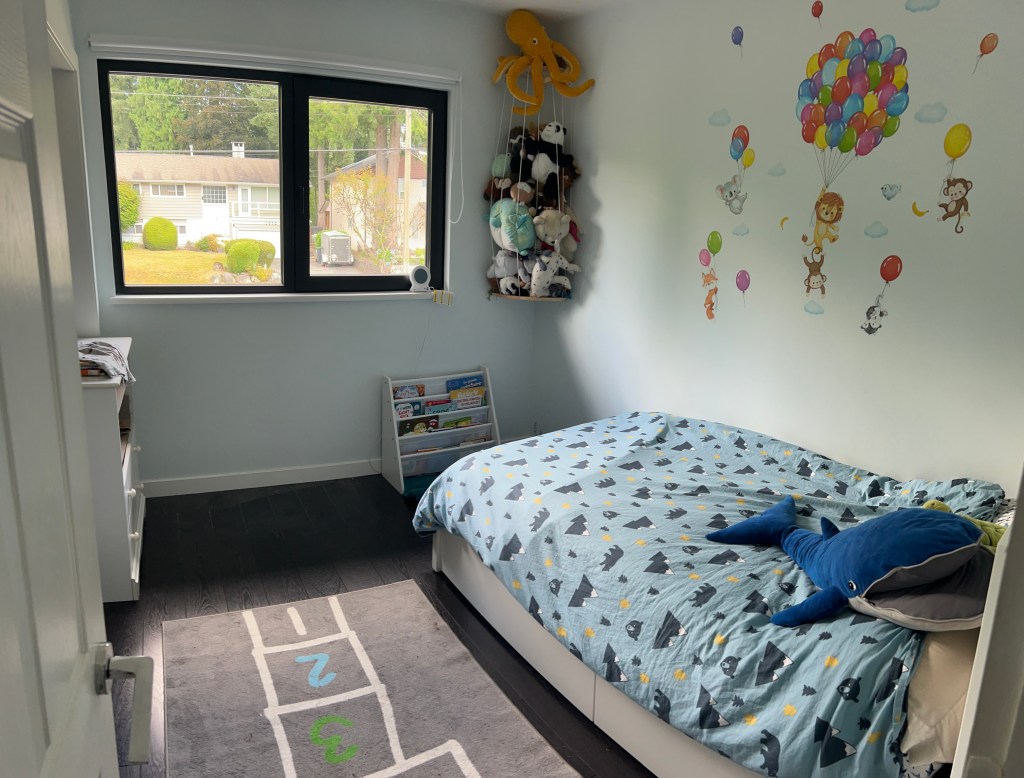
Large bedroom before, during, and after:

Two rooms done, many more to go…
